

Set Up WAF KEMP in ServerStadium Part 1
While KEMP LoadMaster can bring a solution to distribute the web workload, KEMP also has a feature to harden the Web Application by utilizing the WAF (Web Application Firewall).
WAF or Web Application Firewall helps protect web applications by filtering and monitoring HTTP/s traffic between a web application and the internet. The typical protection of WAF can provide, such as cross-site forgery, cross-site-scripting (XSS), file inclusion, and SQL injection.
The original product of KEMP Technologies can be found at https://kemptechnologies.com/
Licensing
KEMP VLM has two types of licenses, the paid one and the trial one.
You can go with the paid license for a production environment since it will unlock all KEMP VLM’s features.
However, we will go with the trial license in this section since we don’t need to go to a production environment yet.
Please register your account Here – Start Free Trial to get your free trial license.
Create Virtual Machine
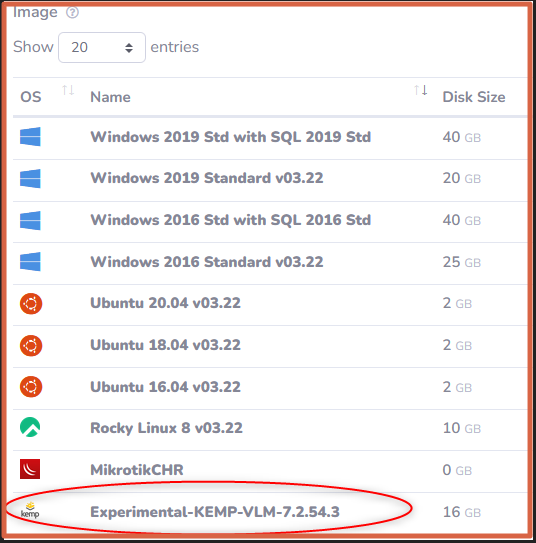
First, you must deploy a Virtual Machine with KEMP VLM as a template image.
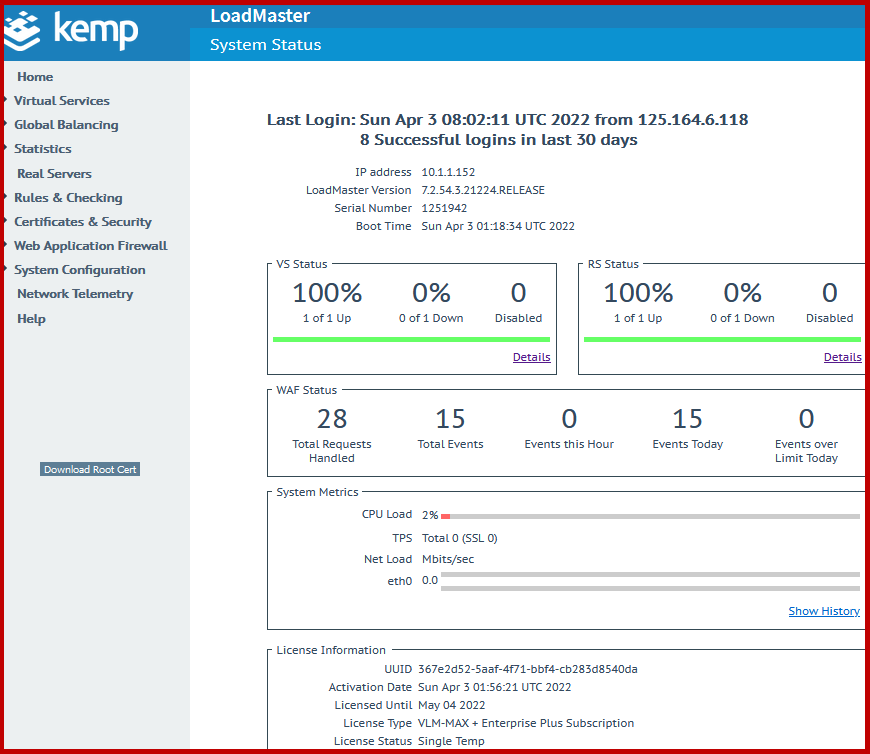
Access the KEMP management UI and set the new password for the administrator. Please set the password so that it will fulfill the complexity requirements.
The management interface should be like in this picture.
Additional Private IP + Public IP
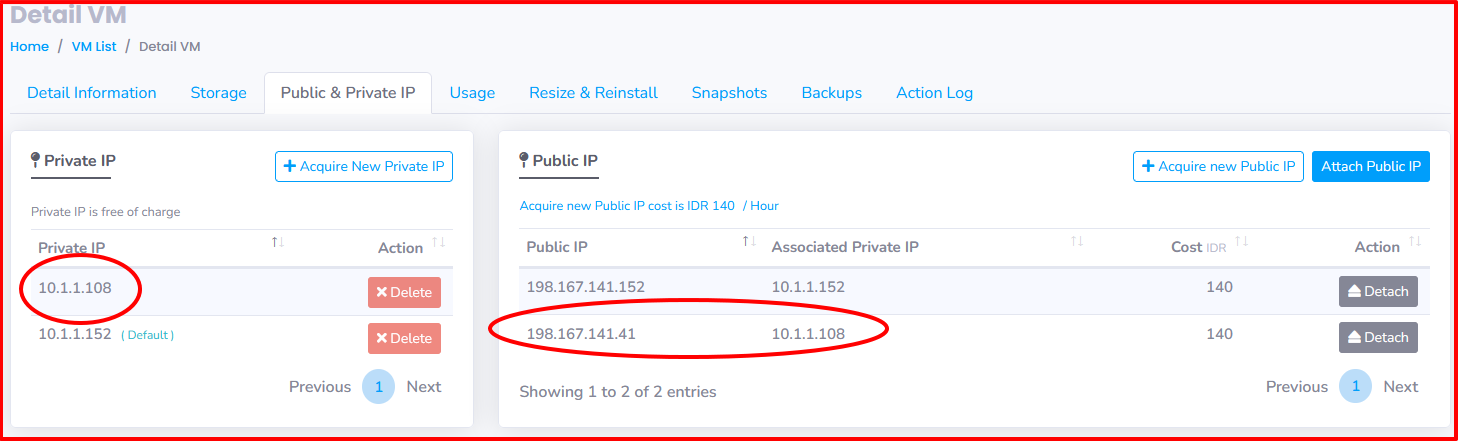
You need to create additional private IP and public IP since the default private IP and public IP will be used as the management interface. Please follow the steps below to add new IP to an existing VM.
- Navigate to KEMP VM, click Public & Private IP
- Click Acquire New Private IP
- Click Acquire new Public IP, and attach the public IP to the new Private IP
- Your newly acquired IP should be like in the following picture
Rules & Checking
Content Rules
Content Rules are needed because if two different websites use the same 1 IP on the SubVirtul Real server (SubVR), only the website in the last order can be accessed.
Example:

Assigned the content rules to each SubVS

Virtual Services
Virtual Services will contain an HTTP/s service held by the backend webserver.
- On the left pane, click add new
- Specify the parameter below:
| Name | Value | Description |
| Virtual Address | 10.1.1.108 | Private IP of KEMP Machine |
| Port | 80 or 443 | common HTTP/s port service |
| Service Name (Optional) | http / https | Optional name of the service |
| Protocol | tcp | transport protocol with a reliable connection |
Example of virtual service configuration

- Save the Virtual Services value by clicking the Add this Virtual Service button at the right pane.
Adding and Modifying the SubVS
This SubVS will contain each virtual host configuration of the domain.
- Navigate to Virtual Services > View/Modify Services
- In the SubVSs row, click Add New button on the right of the pane
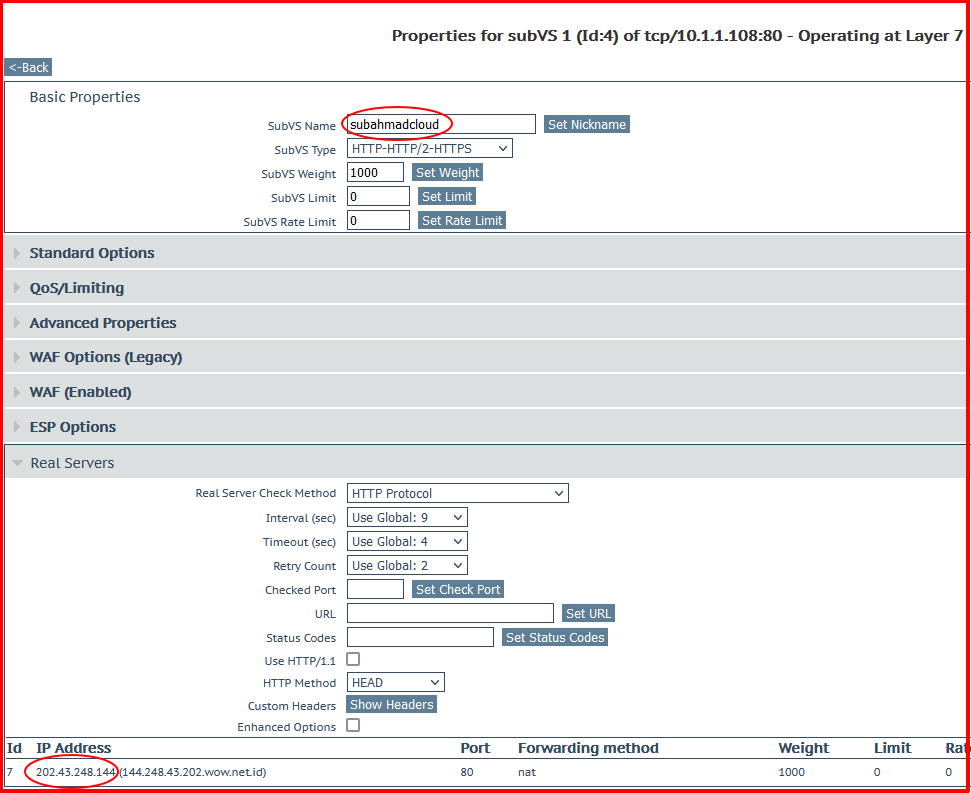
- For HTTP SubVs, we only need to set a nickname and add HTTP as a Real Server protocol
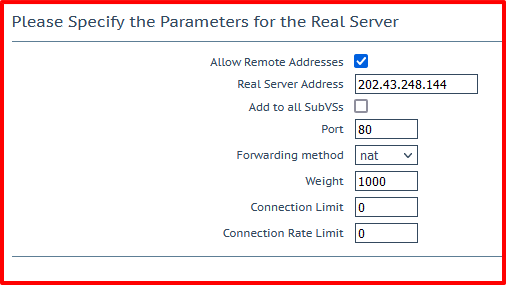
- Real Server will be the webserver behind the KEMP VLM
Example of HTTP SubVs and Real Server configuration
HTTPS Virtual Service
Assuming you have an SSL certificate and want access to your domain through an HTTPS connection.
First, Please create Virtual Services with 443 as a listening port.
You may set the Real Server with an 80 port since the SSL termination will be on the KEMP side.
Certificate & Security
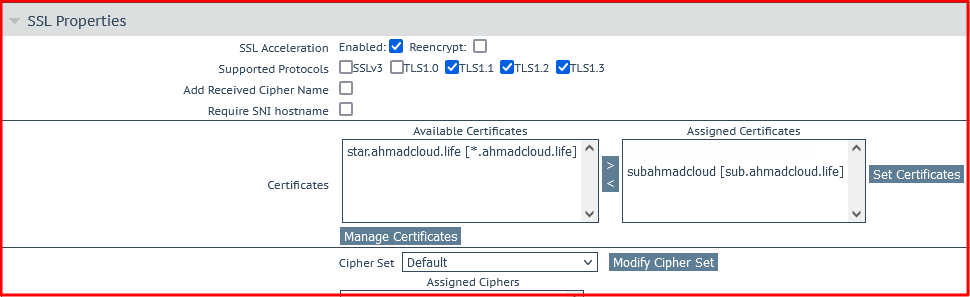
Import the SSL certificate of your domain to KEMP LoadMaster.
Then assign the available certificate to 443 Virtual Services
Conclusion
Almost there! We will continue to add some WAF rules in the next part. Please visit article part 2!