How to Setup Your Own Laravel with Nginx in Ubuntu 18.04
This tutorial will help you setup Laravel with Nginx in Ubuntu. In this tutorial, we will use Ubuntu 18 server to deploy Laravel. Laravel is a web application framework written in PHP language.
To setup Laravel in your Ubuntu Server with Nginx, we need to install the following requirements below:
- The web server
- The database
- PHP 7.2
- Composer
- Laravel
In this case, we use Nginx as the web server software and Mariadb as the database software. Also, we only have to open the default port on ServerStadium Default Security Profile which is only open port 22, 80 and 443.

Without further ado, here are the steps to setup Laravel with Nginx in Ubuntu 18.04.
Step 1 – Install Nginx
Firstly, you can run “sudo apt-get update” to download package information from all configured sources.
Then to install nginx you can run the following command below:
apt-get install nginx
After the installation process is complete, you can check nginx status by run:
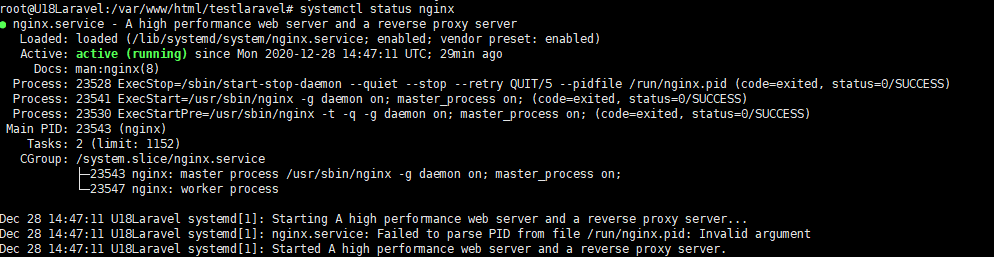
systemctl status nginx
And the output should be like this if nginx is active.
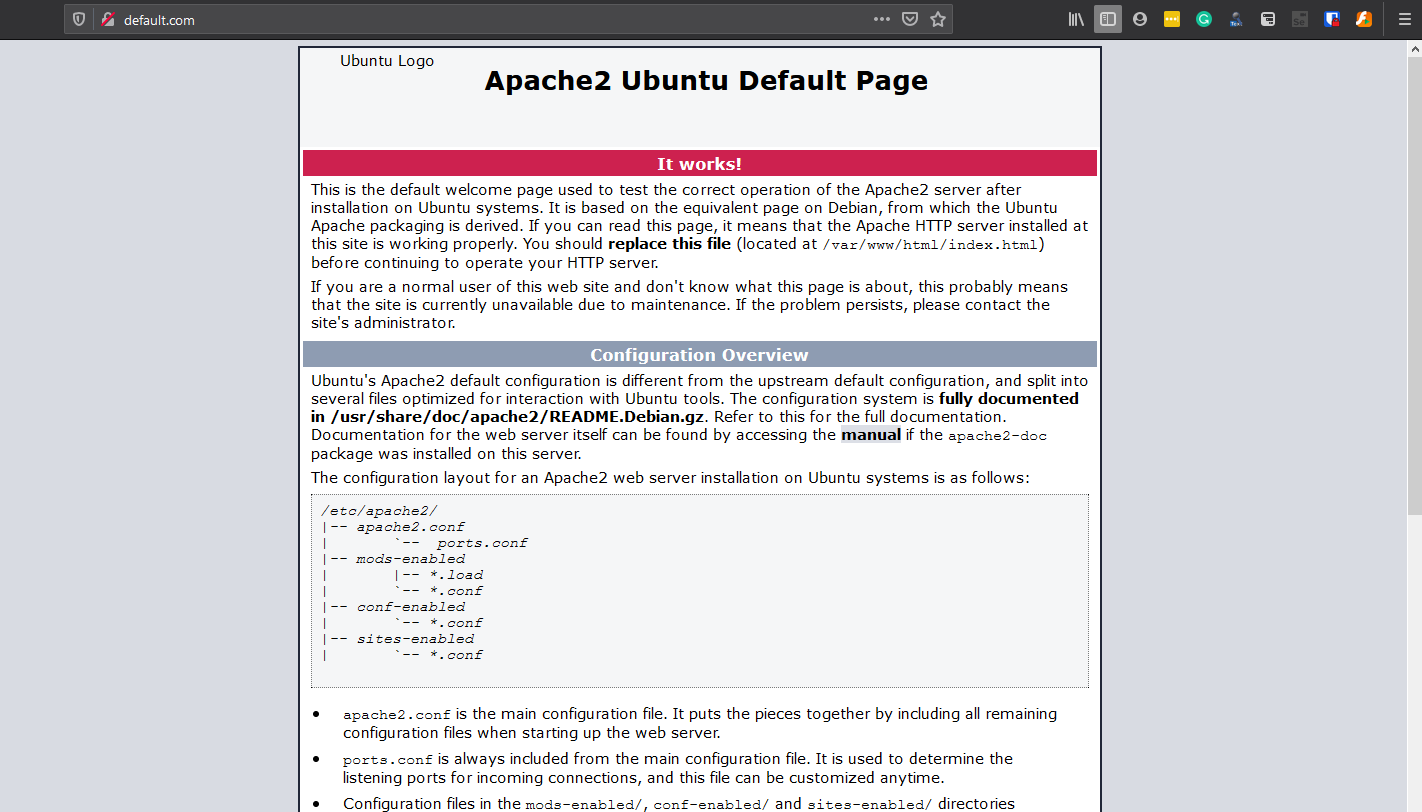
Or you can check it by opening your server IP public on your browser, and the page will display Apache2 Ubuntu Default Page as below.
Step 2 – Install MariaDB
The second step is to install the database or MariaDB. To install it, you can use the following command:
apt install mariadb-server
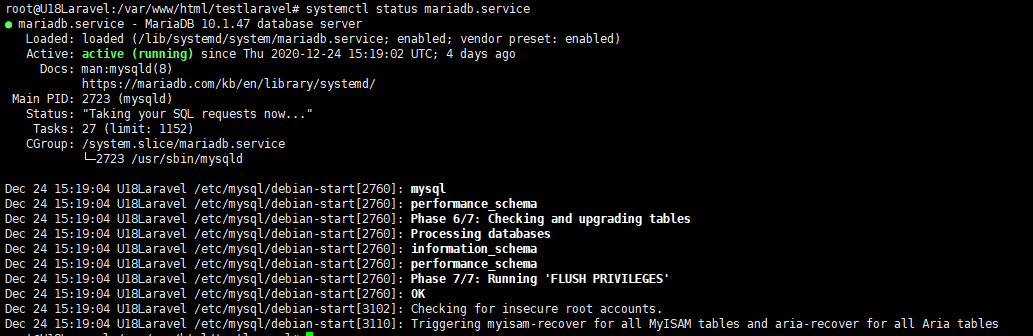
Since we use the default source, At the time of writing, the version of MariaDB is 10.1.47. To check mariadb status, you can run this command:
systemctl status mariadb.service
The output will be like this if the service is running.
With the following command above, the database is already installed, and you can login to the mysql without any password using root user. But if you want to setup the user for the mysql you can run the following command below and setup the password for root user.
mysql_secure_installation
Step 3 – Install PHP 7.2
PHP 7.2 is included in the default Ubuntu repository for 18.04. We can list each of the available PHP 7.2 packages with the following command:
apt-cache pkgnames | grep php7.2
Next, we can install the packages that our application requires by typing:
apt-get install php curl git unzip
apt-get install php-pear php-fpm php-dev php-zip php-curl php-xmlrpc php-gd php-mysql php-mbstring php-xml libapache2-mod-php
Finally, we can restart nginx to allow PHP to run:
systemctl restart nginx
Then, we can confirm the PHP version by type:
php –version
Here is the output of the checking command version above.

Step 4 – Install composser
Since composer is already part of the repository, we can install it using the following command below.
apt-get install composer
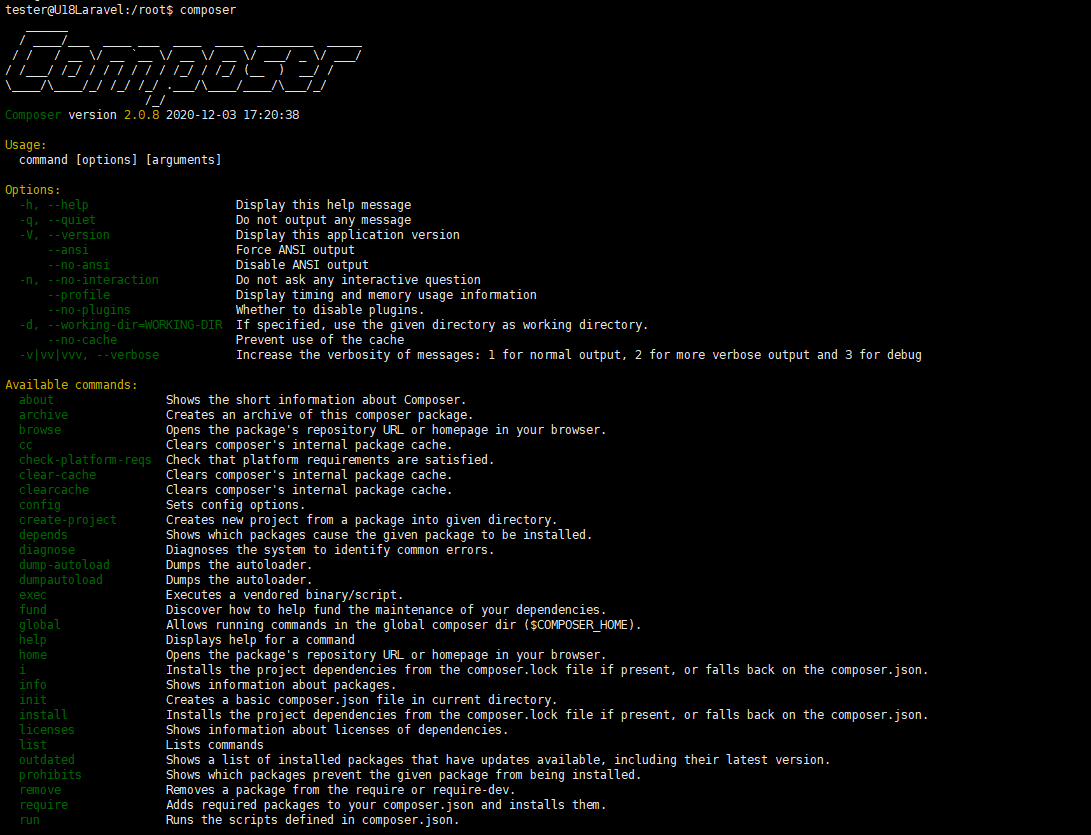
To ensure that the composer is already installed, we can check it by running command “composer” and it will show the manual as below.
Step 5 – Install Laravel using composer
When installing laravel or creating a laravel project, you must enter the directory where you want to save the project data, or you can create the project first and then move the data to the right locale where you want to save it.
In this tutorial, I use /var/www/html as my data storage location, and my project name is testlaravel. Then to install laravel you can run this command below.
composer create-project –prefer-dist laravel/laravel [projectName]
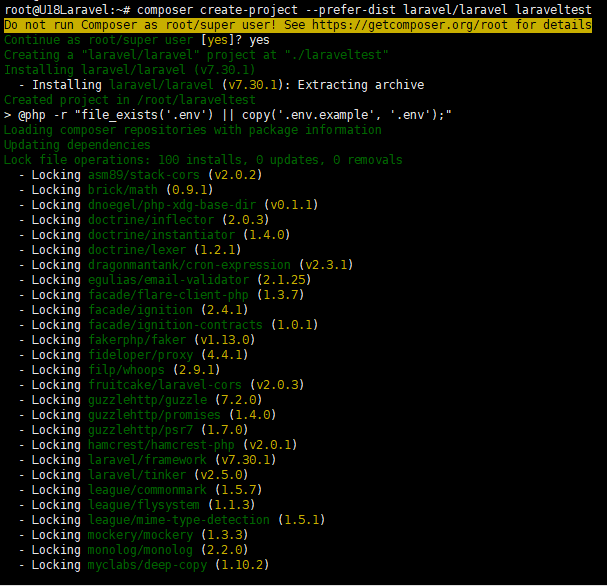
FYI, in the picture above, I give my project name “laraveltest”
After laravel installation is complete, you can move the project folder to /var/www/html/ then change the owner of the project to www-data with the following command below.
sudo mv [projectName] /var/www/html/
chown -R www-data:www-data /var/www/html/[projectName]/
Now the next step is to config the virtual host so we can access the website through our browser. You can use the following command below to edit the virtual host file.
nano /etc/nginx/sites-available/vhostlaravel.conf
After the text editor is opened, we can use the simple config below.
NB:
– If you have a different project location change the root document location with your project location.
server {
     listen 80;
     listen [::]:80 ipv6only=on;

     # Log files for Debugging
     access_log /var/log/nginx/vhostlaravel-access.log;
     error_log /var/log/nginx/vhostlaravel-error.log;

     # Webroot Directory for Laravel project
     root /var/www/html/laraveltest/public;
     index index.php index.html index.htm;

     # Your Domain Name
     server_name www.your_domain.com your_domain.com;

     location / {
             try_files $uri $uri/ /index.php?$query_string;
     }

     # PHP-FPM Configuration Nginx
     location ~ \.php$ {
             try_files $uri =404;
             fastcgi_split_path_info ^(.+\.php)(/.+)$;
             fastcgi_pass unix:/run/php/php7.2-fpm.sock;
             fastcgi_index index.php;
             fastcgi_param SCRIPT_FILENAME $document_root$fastcgi_script_name;
             include fastcgi_params;
     }
}
After we save the config, we need to create links file of the virtual host from /etc/nginx/sites-available to /etc/nginx/sites-enabled by using the following command below.
ln -s /etc/nginx/sites-available/vhostlaravel.conf /etc/nginx/sites-enabled/
Then we must test the virtual host config using the simple command “nginx -t”. Accordingly, if your virtual host config is correct, it will give an output like this:

After the output says that syntax is OK we can restart nginx to apply the virtual host using the following command below.
systemctl restart nginx
To test our laravel project, we can change our local resolver file.
If you are on a Mac or Linux computer at home, you can edit the file needed by typing:
nano /etc/hosts
If you are using Windows desktop, you can edit file “hosts” from the notepad by accessing this folder:
C:\Windows\System32\drivers\etc
Then assuming that your server’s public IP address is 97.22.10.9 , the lines we need to add to the “hosts” file would look something like this:
97.22.10.9 www.your_domain.com your_domain.com
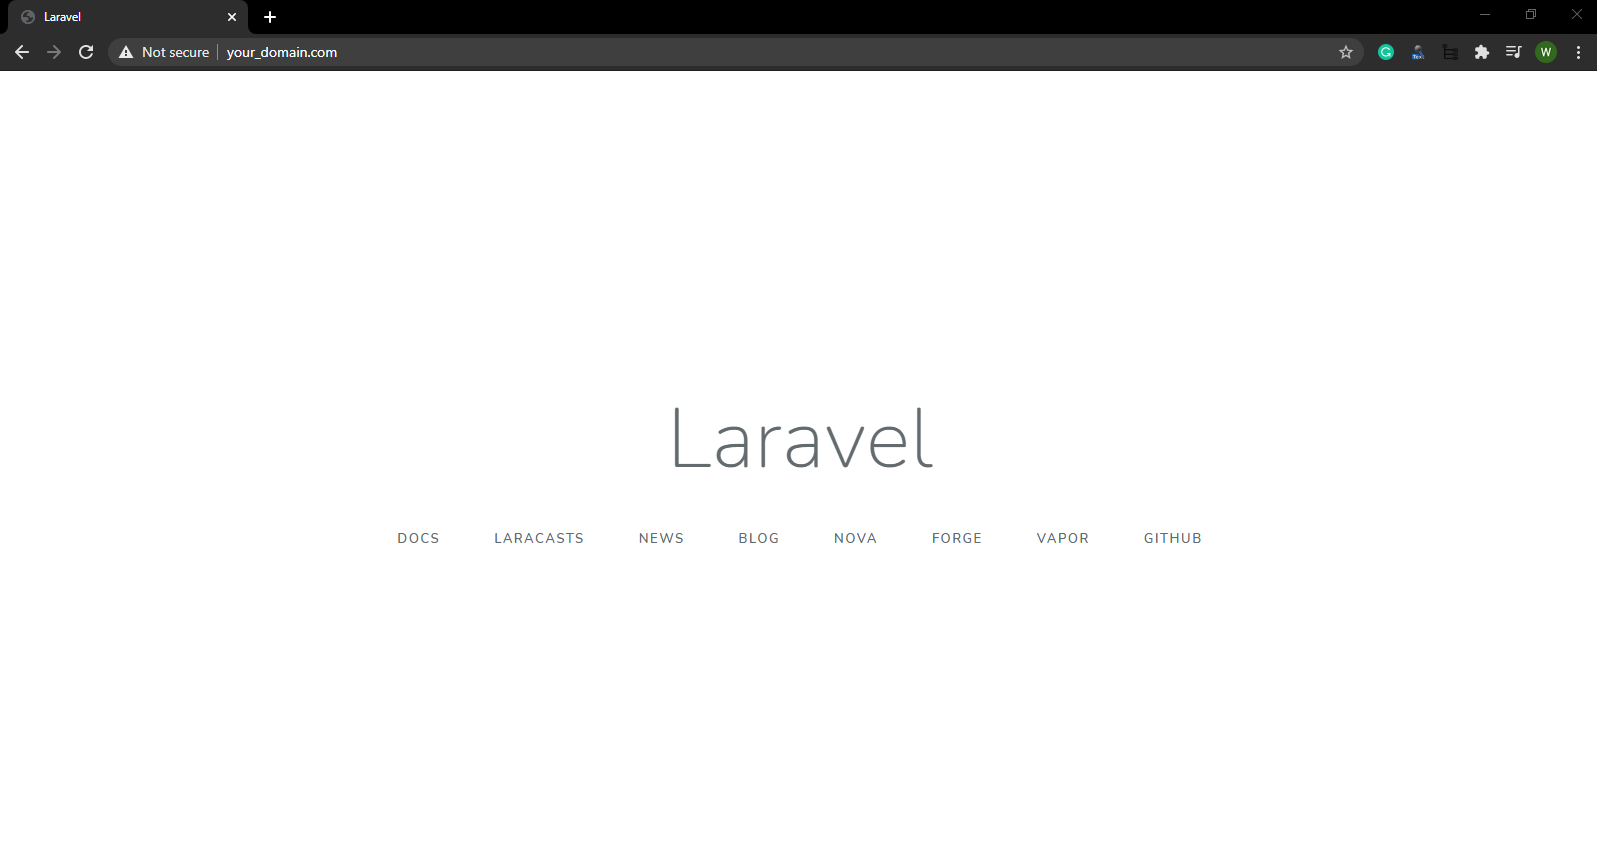
Finally, we can test to access our Laravel project through the browser, and the output will look like this.