

High Availability Kubernetes Using RKE in ServerStadium Part 3
After Kubernetes and Rancher is ready, we can continue to create simple application run on our Kubernetes Cluster
Please login to Rancher WEB UI using your Rancher URL
Create a Project in Rancher
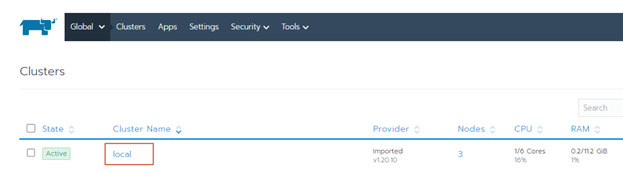
Click Cluster Name; for this application, we choose local, then click Add Project button

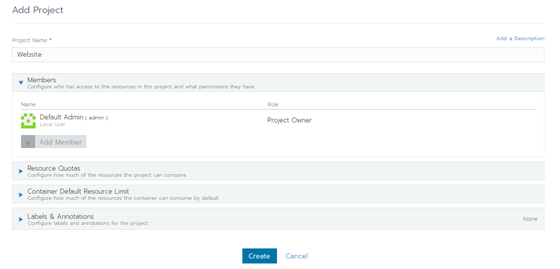
Insert the project name with the name Website, then click Create
Add Namespace
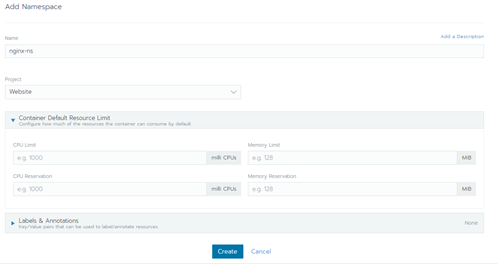
Select Website project, then we create a namespace in which the application will be deployed.
Click Add Namespace button, then Insert Name with nginx-ns

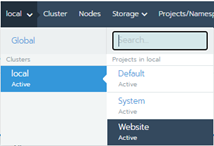
Click the dashboard, then Choose Project Website
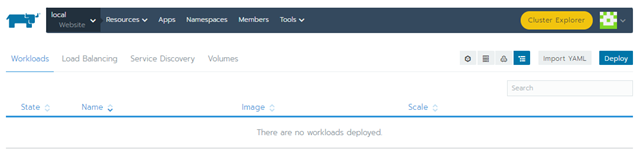
Click the Deploy button on the right side to deploy a simple application.
Fill in the value as the following screenshot
Name: nginx
Docker Image: nginx
Namespace: nginx-ns
Port Mapping:
Port Name: nginx
Public the container port: 80
Protocol: TCP
“As a” : NodePort
Then click Launch

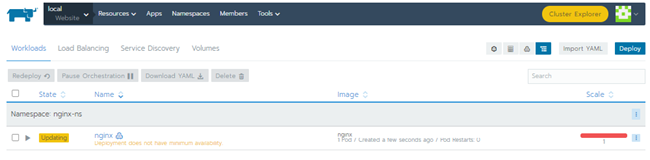
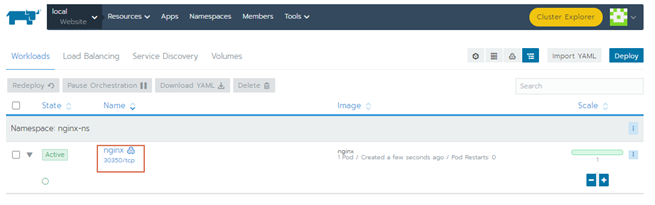
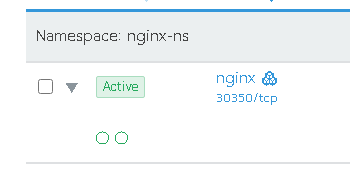
Let’s monitor until the deployment status is Active
After deployment is successful, the Nginx application uses port 30350. In the next step, we will add this port to the Load Balancer in ServerStadium Cloud
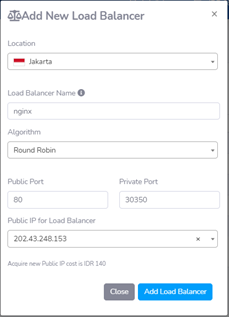
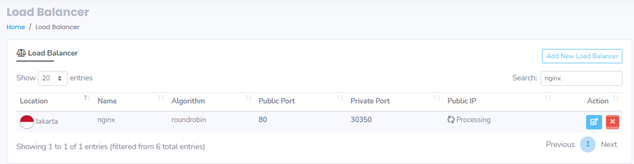
Add Port to Load Balancer
Create a Load balancer with Name nginx with Public Port 80 and the Private Port 30350
Edit nginx Load Balancer to assign All nodes
Edit nginx Load balancer, then assign all nodes to the LB
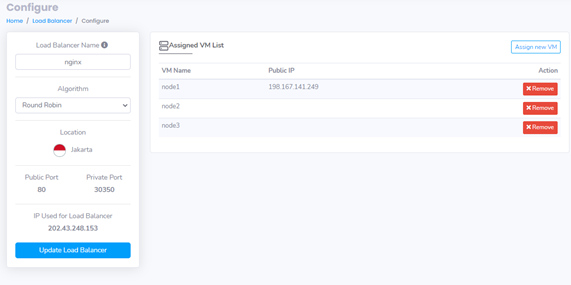
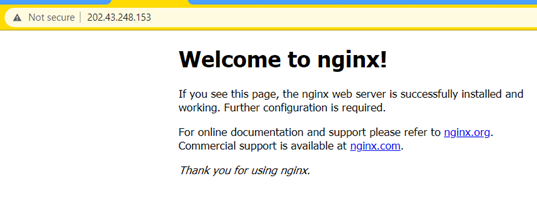
Add all nodes to the Load Balancer; we can access the Nginx using the IP Address of the Load Balancer
Scaling a pod using Rancher is very simple. We only need to click the plus button on the right side.

After a while, we will see two dots under Active which means the nginx already has 2 pods
Also, we can verify it using kubectl command. Please run the command below to verify the pods
# kubectl get pods

We can see the Rancher and kubectl command has the same result.
Add Helm Repository through Rancher
Helm is Package Manager of Kubernetes like apt and yum. We can add the repository and then choose the application that you would like to be installed. Click Apps, then choose Manage Catalogs.

After that, we will see the default three repositories of rancher
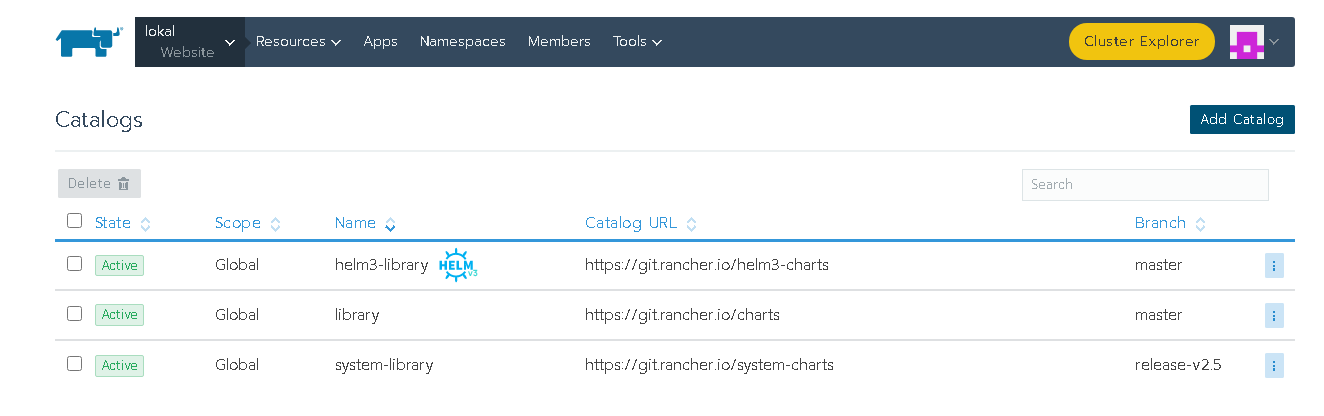
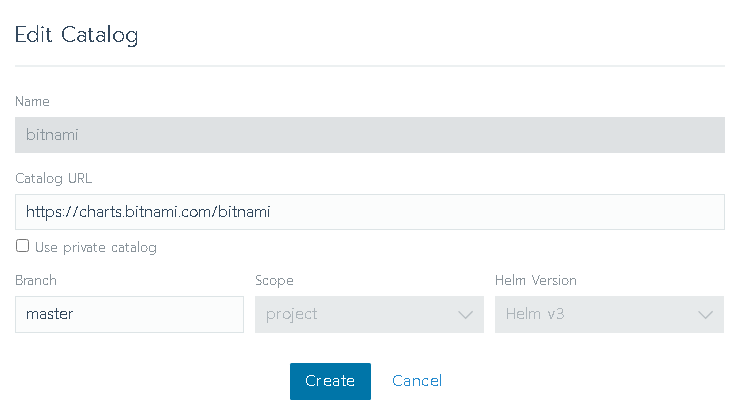
Click Add Catalog button to add the repository. In this tutorial, we will add the Bitnami Helm repository
Name: Bitnami
Catalog URL: https://charts.bitnami.com/bitnami
Helm Version: Helm v3
Then click Create
After Bitnami Repository has been added, we can continue to deploy the application.
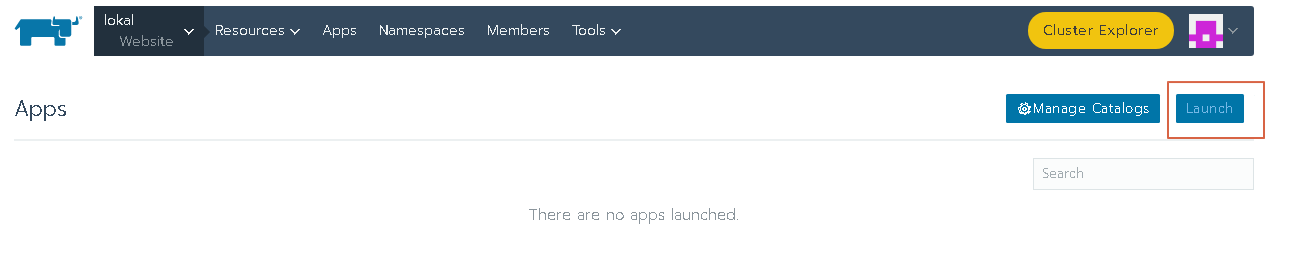
Deploy / Launch Apache from Helm Repository
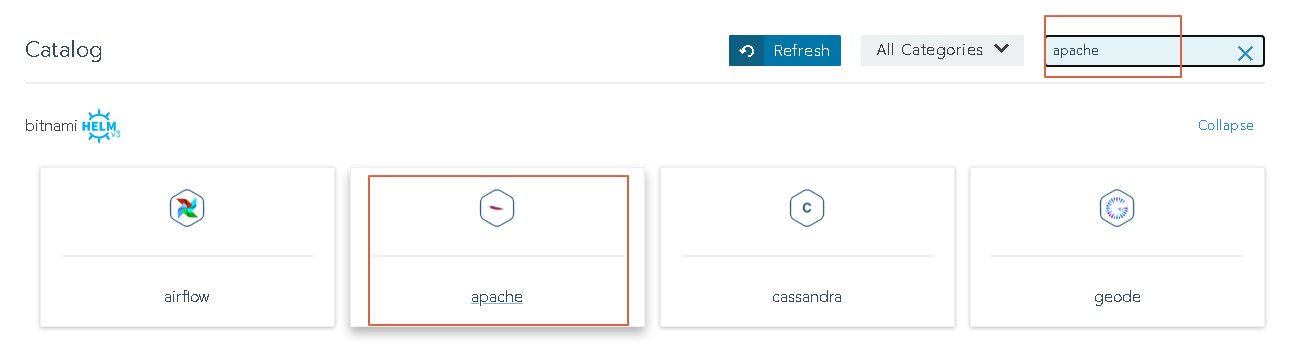
We will deploy Apache in the Kubernetes cluster. Click the Launch Button the search Apache
On the new screen, we will see many applications on Kubernetes. Just type Apache the click the Apache to continue the deployment
Fill the field as follow :
Name: apache
Namespace: apache
Then Click the Launch button

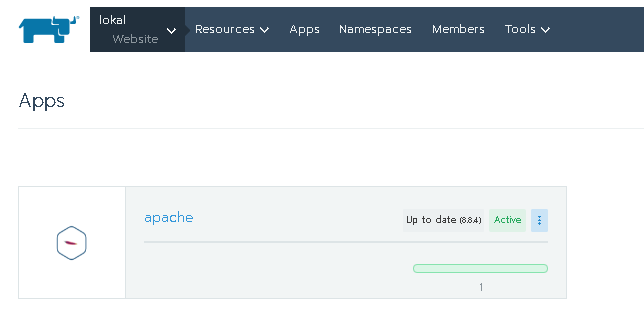
Click Apps to see the status of Apache deployment
Let’s find the service port of the Apache using kubectl in the Apache namespace
# kubectl get svc -n apache

In here, we get port 30560, which we can set on the Load Balancer of ServerStadium Cloud. Add new Load Balancer configuration as follow.
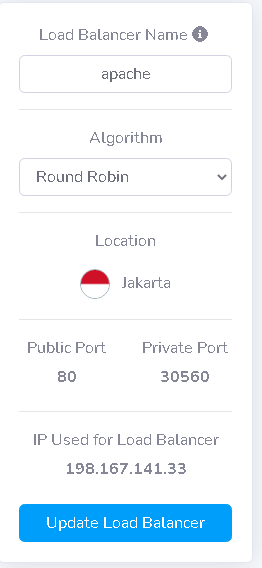
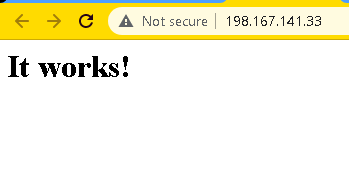
Then assign all nodes to this Load Balancer IP Address. Verify the Apache deployment by accessing the website using the URL
Finally, we successfully installed Kubernetes and deployed a simple application, Nginx and Apache, in ServerStadium Cloud.
Please feel free to submit your question to our Support if you need more assistance.
Missed something? You can always re-read the article part 1 and part 2. Ready to have your High Availability in Kubernetes Using RKE? Try it in ServerStadium Cloud now; sign up here.