

Reverse Proxy management using Nginx Proxy Manager
Managing proxy hosts can be tedious sometimes. Thanks to its user-friendly web interface, Nginx Proxy Manager allows you to manage your proxy hosts easily and swiftly.
However, NPM (Nginx Proxy Manager) currently does not support Load Balancing configuration. But, for basic proxying use cases, this is more than enough! So, let’s jump on to it, shall we?
TLDR Guide
- Install
docker-ceanddocker-compose - Create new folder
npmornginxproxymanageror anything else. - Save these lines as
docker-compose.yamlin the folder
version: '3'
services:
  app:
    image: 'jc21/nginx-proxy-manager:latest'
    restart: unless-stopped
    ports:
      - '80:80'
      - '81:81'
      - '443:443'
    volumes:
      - ./data:/data
- ./letsencrypt:/etc/letsencrypt- Run the stack
docker-compose up -d- Access the admin UI via
http://YOUR-IP:81. Remember, it’s PORT 81. - Default credentials
Email:    admin@example.com
Password: changeme- Change the default login.
- Enjoy!
Prerequisites
- Port 80, 81, and 443 are allowed on Firewall and Security Profile.
- A domain name, at least.
Installation Steps
This installation guide would be OS-agnostic as this will run on any system with docker installed.
Assuming that docker-ce and docker-compose has been installed on your server. (Otherwise, check out this article and see only the docker installation part)
First, create a docker network with any name you wish:
docker network create proxy_network
Create a folder wherever you like and give it a name:
mkdir /opt/nginx_proxy
cd /opt/nginx_proxy
Then, save the following configuration as docker-compose.yaml :
version: '3'
services:
  app:
    image: 'jc21/nginx-proxy-manager:latest'
    restart: unless-stopped
    ports:
      - '80:80'
      - '81:81'
      - '443:443'
    volumes:
      - ./data:/data
      - ./letsencrypt:/etc/letsencrypt

networks:
  default:
    external:
      name: proxy_network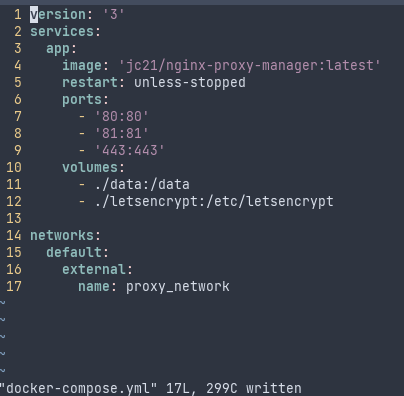
It’s a very basic configuration that will use SQLite as the database. So, if you wish to use MySQL/MariaDB instead, please use the following, and change the appropriate values:
version: "3"
services:
  app:
    image: 'jc21/nginx-proxy-manager:latest'
    restart: unless-stopped
    ports:
      # These ports are in format <host-port>:<container-port>
      - '80:80' # Public HTTP Port
      - '443:443' # Public HTTPS Port
      - '81:81' # Admin Web Port
      # Add any other Stream port you want to expose
      # - '21:21' # FTP
    environment:
      DB_MYSQL_HOST: "db"
      DB_MYSQL_PORT: 3306
      DB_MYSQL_USER: "npm"
      DB_MYSQL_PASSWORD: "npm"
      DB_MYSQL_NAME: "npm"
      # Uncomment this if IPv6 is not enabled on your host
      # DISABLE_IPV6: 'true'
    volumes:
      - ./data:/data
      - ./letsencrypt:/etc/letsencrypt
    depends_on:
      - db

  db:
    image: 'jc21/mariadb-aria:latest'
    restart: unless-stopped
    environment:
      MYSQL_ROOT_PASSWORD: 'npm'
      MYSQL_DATABASE: 'npm'
      MYSQL_USER: 'npm'
      MYSQL_PASSWORD: 'npm'
    volumes:
      - ./data/mysql:/var/lib/mysql
Then, bring up the stack:
docker-compose up -dLastly, wait until the process is done.

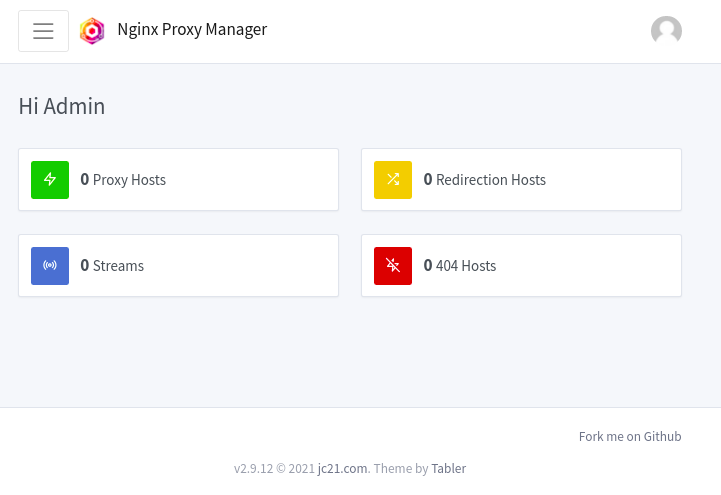
Your NPM (Nginx Proxy Manager) should be accessible via http://YOUR_IP:81
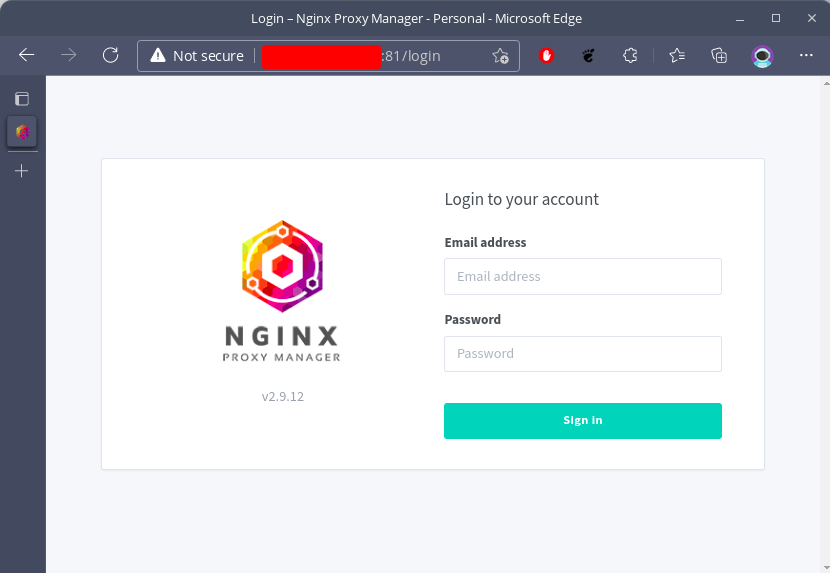
Initial Setup
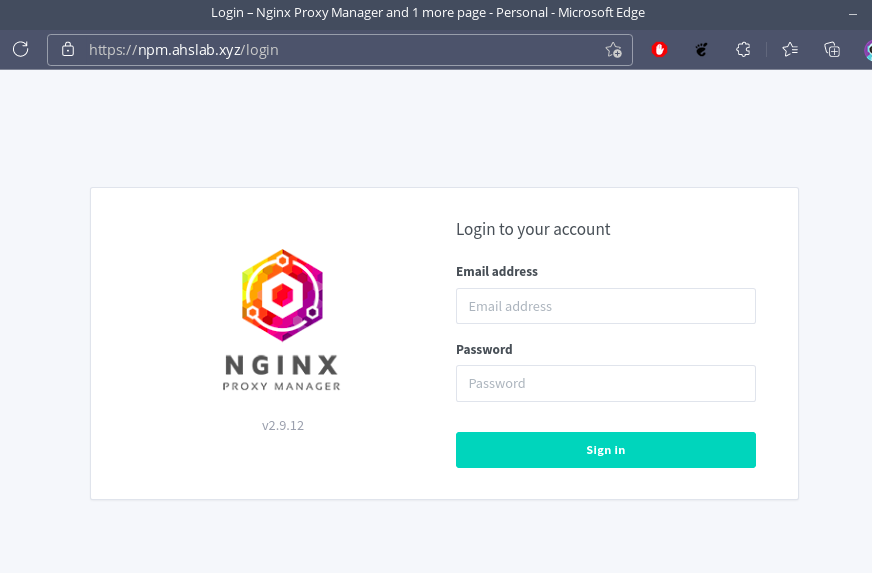
On the login page, enter the default NPM credentials as follows:
Email:    admin@example.com
Password: changeme
After successfully logging in, a dialog box will show up, and it will let you change the default credentials.
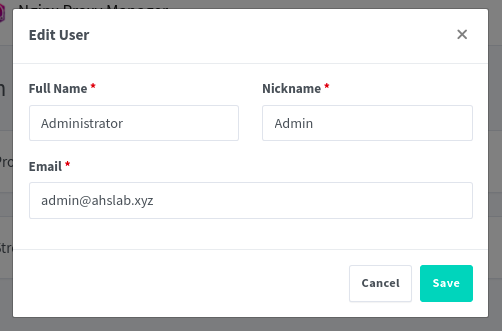
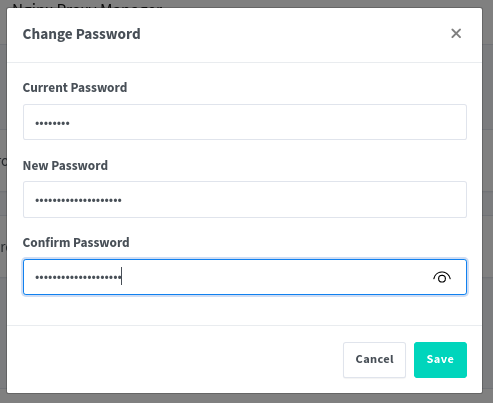
Now, NPM is ready! Yay~
Adding your first proxy host
NPM offers four types of proxy passes. Basic proxy pass called Proxy Hosts, redirection hosts, proxy streaming, and 404 hosts. This article will only cover the Proxy Hosts section, and I leave it to you to discover the rest 😉
For your very first proxy host configuration, why don’t you proxy the NPM dashboard? Accessing it directly via IP: port is ugly! Now, let’s create it!
First, ensure you already create an A record for your domain/subdomain that points to this server via your DNS manager. How to do it depends on your registrar/domain name provider.
On the dashboard, click on the Proxy Hosts button. It should show something like this:
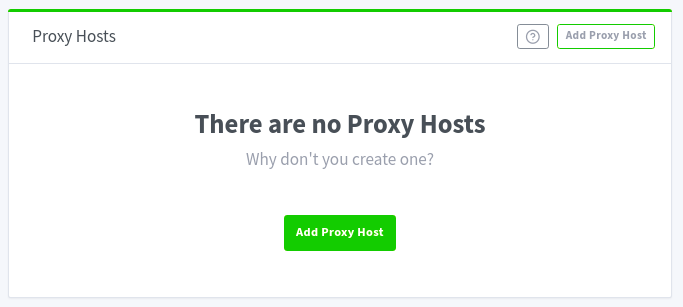
Click Add Proxy Host. And then, fill in the required fields as follows:
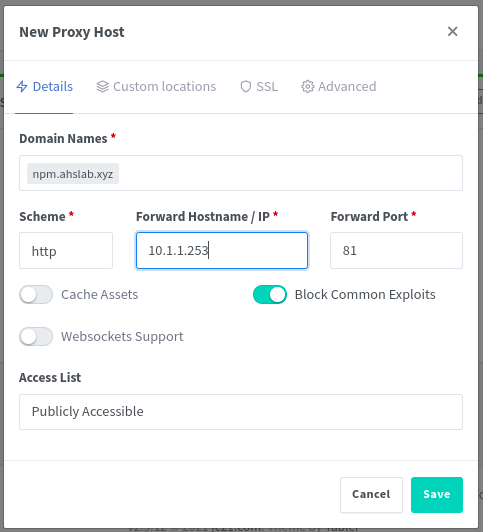
The proxy host is on the same machine, so I prefer to put its private IP. Putting the public IP will work too. Make sure the forwarded port is 81. You can also cache assets, enable WebSockets support, and block common exploits. Here, I will enable the Block Common Exploits.
Move to the SSL tab; unless you’re using Cloudflare SSL (automatically provided by default), you can use LetsEncrypt to generate a valid SSL certificate. And do not forget to enable the options you want.
If you’re using Cloudflare, do not enable Force SSL option as it will result in redirection loop.
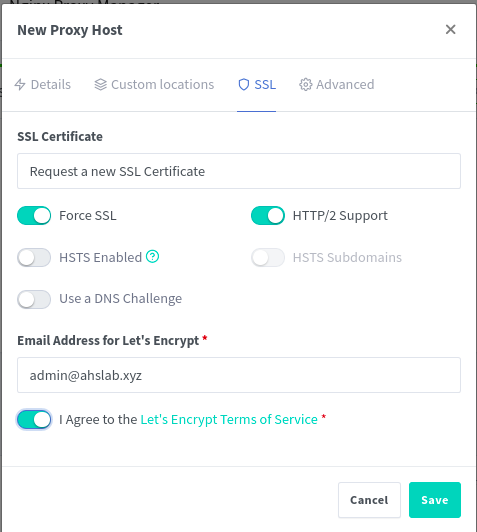
Finally, click Save. Your Proxy Hosts page should now list your very first proxy host.

Now, the moment of truth. Try to access the URL:
Hooray, it is working.
Conclusion
That’s way too easy, right? Now, you can deploy your own Nginx Proxy Manager using docker-compose and manage your proxy hosts using a simple user interface.
For more IT knowledge, you can access it freely in ServerStadium’s knowledge base. Or, for real exciting experience, you can also sign up in ServerStadium and find out what you can do in our dashboard.