

Managing your DNS Zone with DNS Bucket in ServerStadium
A DNS zone is a portion of the DNS namespace managed by a specific organization or administrator. Specifically, a DNS Zone allows you to control granular components of the DNS, such as an authoritative name server. Inside the DNS Zone can be composed of many records called DNS Records. Those records consist of A records, MX records, txt records, etc. For your domain to be resolved globally, you need to add them to the DNS records as a part of your DNS Zone. Let’s dig in!
Phase 1: Adding DNS Zone to DNS Bucket
- In your ServerStadium portal, please navigate to Services > DNS Bucket
- Then, let’s get started by adding your domain to the DNS Bucket
- After filling in your domain, please click Add Your Domain button from the DNS Bucket panel

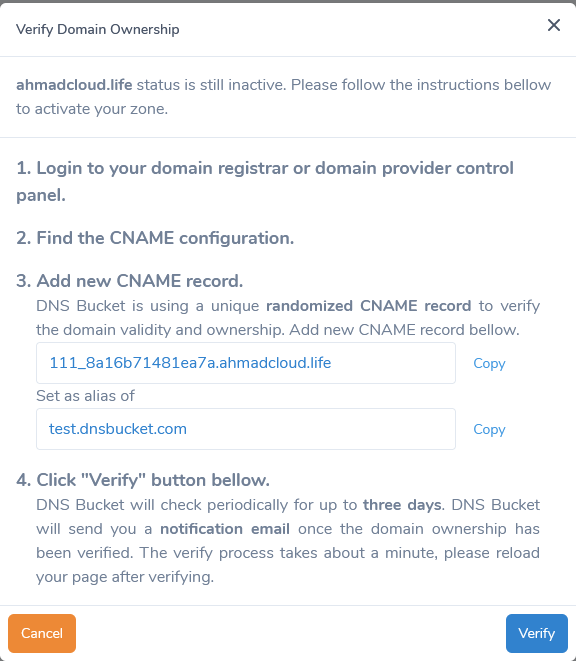
- Login to your domain registrar or domain provider control panel, then find the CNAME configuration
- Add a unique randomized CNAME record to verify the domain validity and ownership. The DNS bucket system will give the unique record in the dialog box, e.g
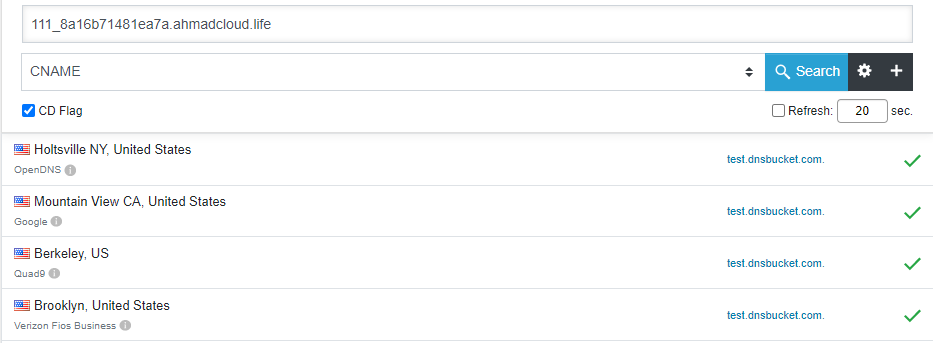
- You can check the record propagation using the following link DNS Checker – CNAME
- The CNAME record will look like this one if you have added the record correctly
- Click Verify, after adding that record to your domain registrar or domain control panel correctly
- You will have a notification email in your mailbox, if the verification process is successful
Phase 2: Adding DNS Record to your Zone
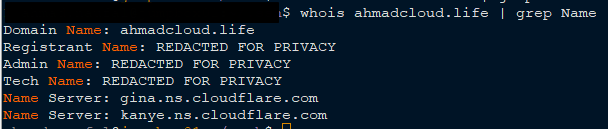
For all the records inside your zone to resolve through the DNS bucket, You need to add the DNS bucket nameservers to your domain registrar. whois domain query tool can give you some information on which nameservers are attached to the domain. For example, the whois query will look like the picture below (before changing it to ns1.dnsbucket.com and ns2.dnsbucket.com).
You may need to wait up to 24 hours until the nameserver change is fully propagated. You can check the propagation process of your nameserver by using this tool, DNS Checker – NS.
If the nameservers of your domain already pointed to ns1.dnsbucket.com and ns1.dnsbucket.com, you could add the records of your zones by following the steps below:
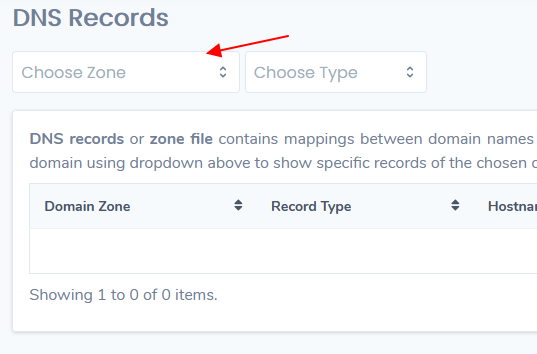
- From your DNS Bucket panel, navigate to DNS Records tab
- Select your zone from DNS Records panel
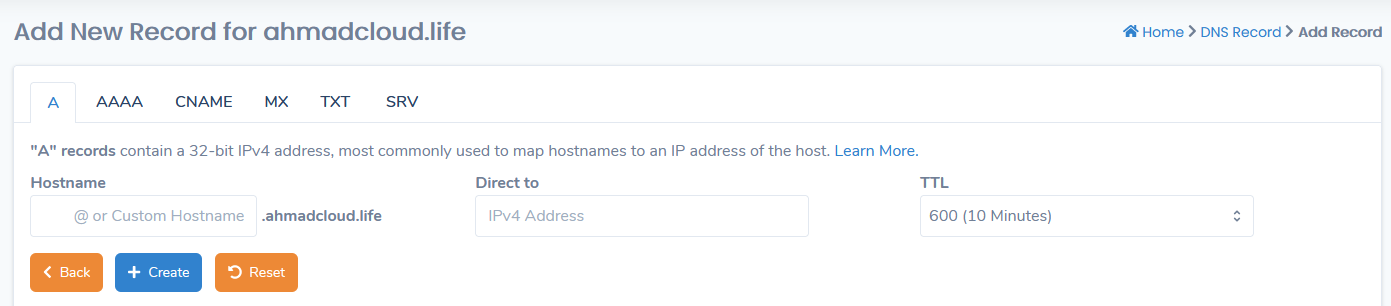
- Click Create New Record button, and choose the desired records you want to add (e.g. A, AAAA, CNAME, MX, TXT, SRV), then click the create button
Conclusion
Way to go! You can now manage your domain with DNS bucket. Feel free to add the needed records for your domain using this tool.