

How to Deploy Django App on ServerStadium VM Using Gunicorn, Supervisor, and Nginx
A basic guide on deploying the Django app using Gunicorn, Supervisor, and Nginx stack on your ServerStadium VM instance.
In this article, I will use Ubuntu 22.04 LTS as the deployment server, Python 3.8, and Django 4.0.
TLDR
- Create a standard user called apps
- Install supervisor and Nginx
sudo apt install supervisor nginx -y- Install your App’s Python version.
- Install
pip - Install
pipenvglobally.
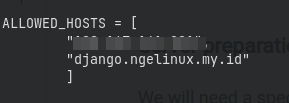
sudo pip install pipenv- Add your server IP and/or FQDN address to ALLOWED_HOSTS in
settings.pyfile
ALLOWED_HOSTS = [ "xx.yy.dd.zz", "your.domain.tld" ]- Copy the Django app to
/home/apps/django-app - Go to the app folder and run:
cd /home/apps/django-app
python3.8 -m pipenv install --deploy- Install Gunicorn using pipenv on the same directory
python3.8 -m pipenv install gunicorn- Create supervisor config file under
/etc/supervisor/conf.d/django-app.conf
[program:django-app]
user=apps
directory=/home/apps/django-app/djangoapp/
command=/usr/local/bin/pipenv run gunicorn --workers=3 djangoapp.wsgi

autostart=true
autorestart=true
stdout_logfile=/home/apps/logs/django-app.log
stderr_logfile=/home/apps/logs/django-app.err.log- Create the required files and folder:
mkdir /home/apps/logs/
touch /home/apps/django-app{,.err}.log- Restart supervisor to recognize the app
sudo systemctl restart supervisor- Create nginx server block file for the app under
/etc/nginx/sites-available/django-app.conf
server {
    listen 80;

    location / {
        include proxy_params;
        proxy_pass http://localhost:8000;
    }
}- Activate the config and reload nginx
sudo ln -s /etc/nginx/sites-available/django-app.conf /etc/nginx/sites-enabled
sudo unlink /etc/nginx/sites-enabled/default
sudo nginx -t
sudo nginx -s reload- Access the app from your browser:
http://your-iporhttp://your-domain.tldand DONE!
Step-by-step Guide
Django App Peparation
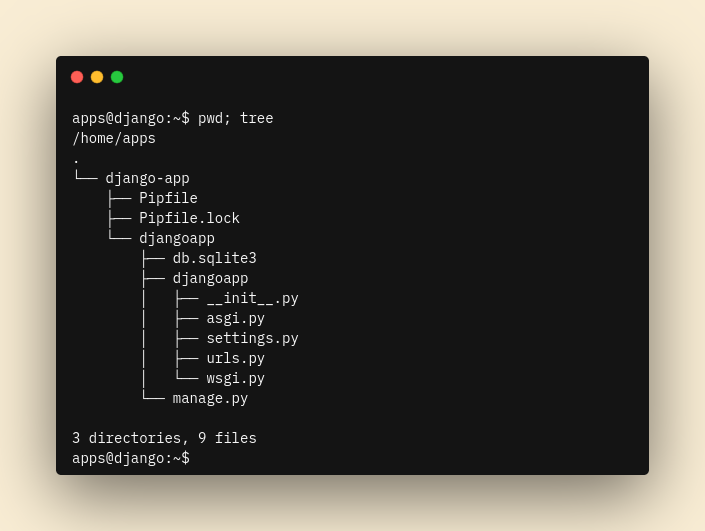
I will assume that your Django App is ready to be deployed. This means it has Pipfile or requirements.txt. For this tutorial, I’m going to use pipenv as the virtual environment tool and here’s the directory structure of the app:
├── djangoapp
│   ├── db.sqlite3
│   ├── djangoapp
│   │   ├── asgi.py
│   │   ├── __init__.py
│   │   ├── settings.py
│   │   ├── urls.py
│   │   └── wsgi.py
│   └── manage.py
├── Pipfile
└── Pipfile.lock
Make sure the app runs successfully in our local environment by running the below command on the app directory:
pipenv run djangoapp/manage.py runserver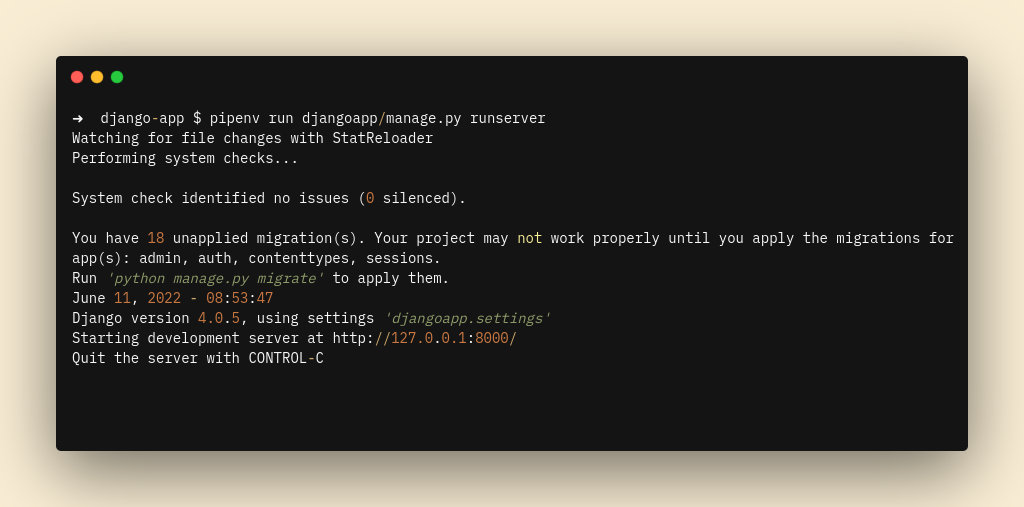
Then access your browser with http://127.0.0.1:8000
Add your server IP and/or domain to ALLOWED_HOST entry in the settings.py file, then save it.
Good, now we are ready to do the deployment.
Server Preparation
We will need a specific user that we will use to serve the app, and it should be a non administrative user. To simplify, we will create apps user
sudo useradd --create-home --shell /bin/bash appsWe will also want to install supervisor and nginx from now
sudo apt update && sudo apt install supervisor nginxAs mentioned earlier, we will be using Python 3.8, which isn’t available by default, so please take a look at this article on how to install Python 3.8 on Ubuntu 22.04 Jammy. Don’t forget to install pip as well.
Then install pipenv globally:
sudo pip install pipenv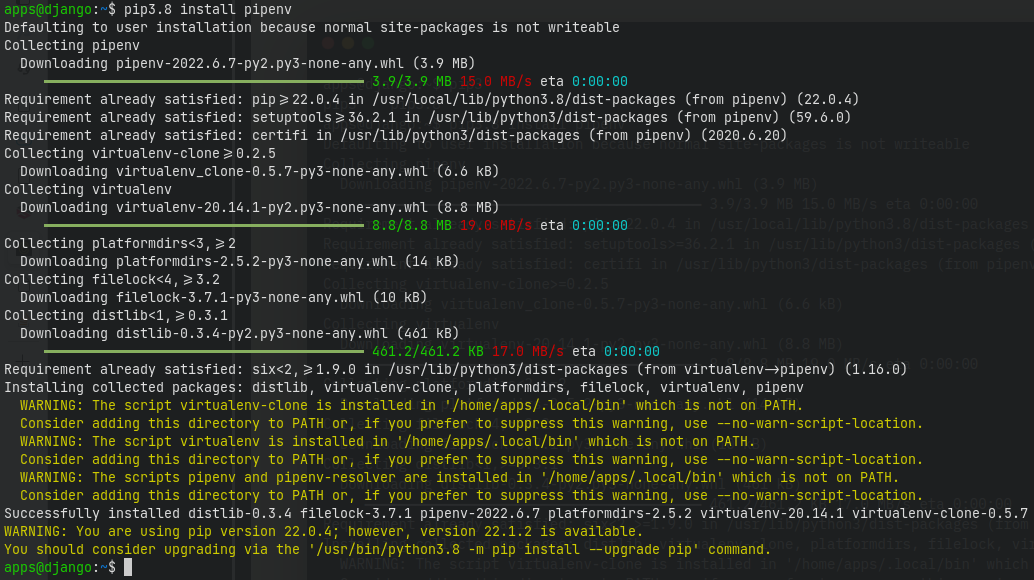
Copy App Files
Copy or clone (using git if it’s supported) the app files to /home/apps/django-app. You can use FTP, SFTP, SCP or any other means of transferring local files to the remote server. On the remote server, the apps directory should look like follows:
Install Required Dependencies
A good thing about pipenv is that it will automatically create a virtual environment upon installing any required dependencies listed in the Pipfile. So, on the django-app folder run:
# make sure it's on /home/apps/django-app
python3.8 -m pipenv install --deploy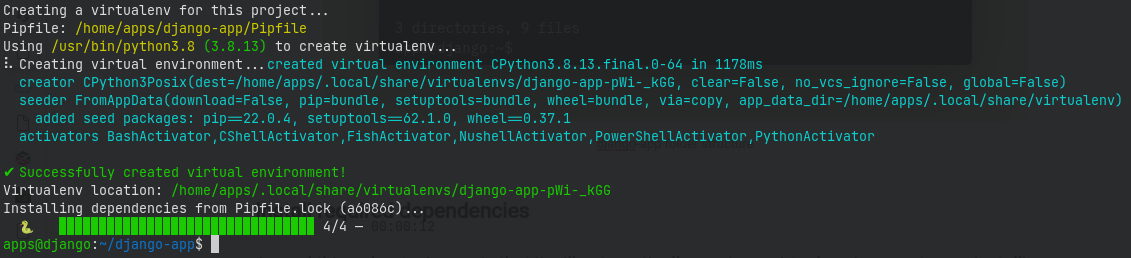
Next, we will install gunicorn:
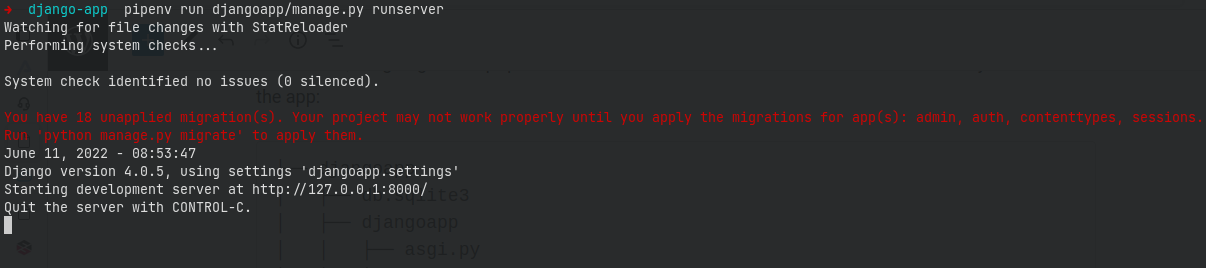
python3.8 -m pipenv install gunicornThen, we will try to serve the app using gunicorn to test, but make sure you run the gunicorn from the app folder where manage.py resides:
cd djangoapp/
python3.8 -m pipenv run gunicorn djangoapp.wsgi
It should return something like this:

Awesome. Now we can setup supervisor to handle gunicorn process(es).
Install and Configure Supervisor
For Debian-based distros, run:
sudo apt install supervisorFor RHEL-based distros, run:
sudo dnf install supervisor
# or
sudo yum install supervisor
Then, we will create a config file for the django app in /etc/supervisor/conf.d/ and name it as django-app.conf. Write or just copy the following lines to the file:
[program:django-app]
user=apps
directory=/home/apps/django-app/djangoapp
command=/usr/local/bin/pipenv run gunicorn --workers=3 djangoapp.wsgi

autostart=true
autorestart=true
stdout_logfile=/home/apps/logs/django-app.log
stderr_logfile=/home/apps/logs/django-app.err.log
Don’t forget to create the ./logs/ folder to store the app’s logs:
# as the apps user
mkdir /home/apps/logs
Then restart supervisor:
sudo systemctl restart supervisorMake sure it’s running by checking supervisor status:
sudo systemctl status supervisor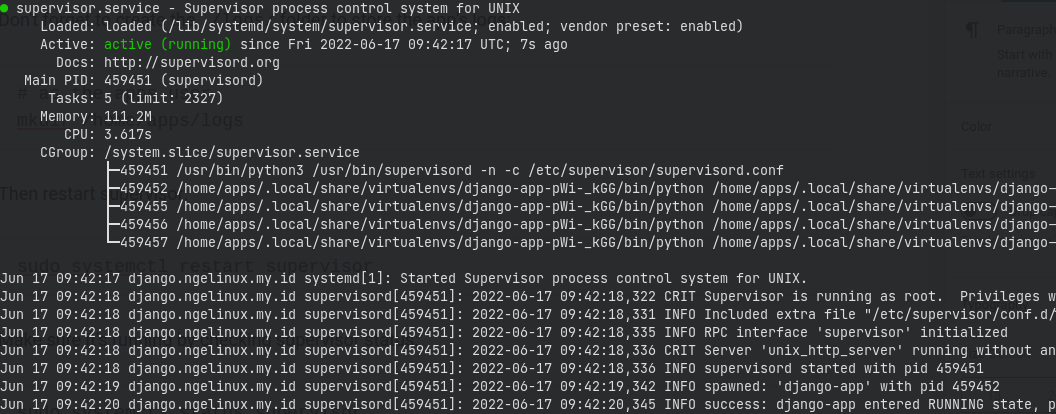
Next, we will install and configure Nginx so it proxies the connection.
Install and Configure NGINX
Here, nginx will proxy HTTP connections to the gunicorn workers. This will also make SSL setup easier, but I won’t explain it here. Install nginx and make sure it’s started on boot:
sudo apt install nginx
sudo systemctl enable nginx --now
Then create a new config file in /etc/nginx/sites-available for Ubuntu-based distros, RHEL-based ones should be in /etc/nginx/conf.d
server {
    listen 80;

    location / {
        include proxy_params;
        proxy_pass http://localhost:8000;
    }
}
Save it as django-app.conf. Then for Ubuntu-based distro only, create a symlink in /etc/nginx/sites-enabled/ for the config file:
sudo ln -s /etc/nginx/sites-available/django-app.conf /etc/nginx/sites-enabled/django-app.confRemove the default site config
sudo unlink /etc/nginx/sites-enabled/defaultFor RHEL-based distros, one might need to remove the default config or rename the extension to .bak or something else. Then, test nginx and reload it
sudo nginx -t
sudo nginx -s reload
Access Test
Finally, test it from your browser via http://YOUR-IP or http://YOUR-DOMAIN.TLD
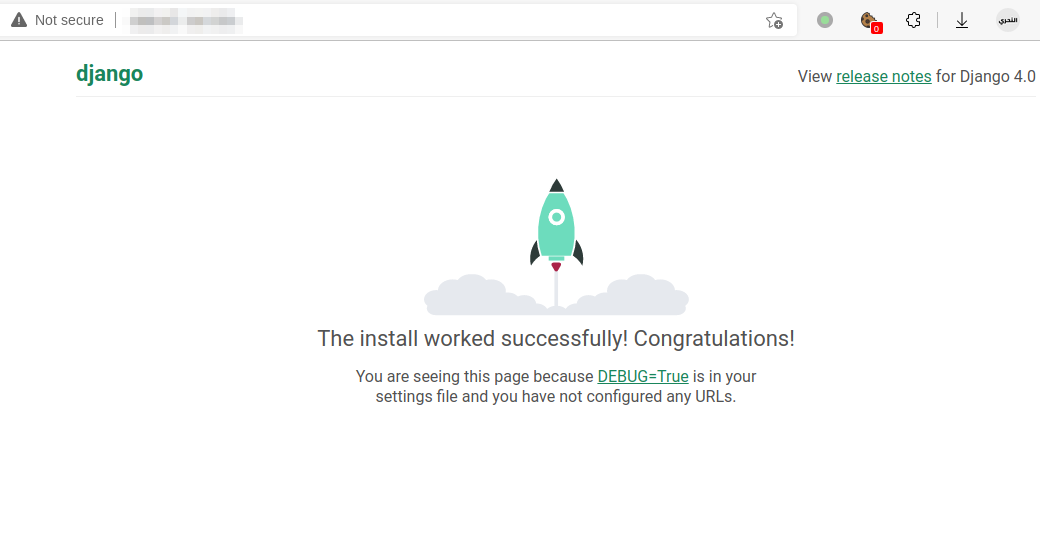
Yay! You’re now able to deploy your Django app!
IMPORTANT NOTE: This is a basic setup that is insecure. For a complete documentation on how to configure your Django so it fits production deployment, please refer to this official documentation
Conclusion
We just learned how to deploy a django application using Pipenv as the virtual environment tool, Gunicorn as the Web Server Gateway, Supervisor as the process manager, and NGINX as the reverse proxy.
Find more tutorial articles in ServerStadium’s Knowledge Base, Register now for free in ServerStadium’s panel to try our cloud VMs.