

Hosting Static Website with Hugo on ServerStadium
Introduction
A static blog comprises one or more static content, such as an HTML page. The static blog is relatively simple and faster to load because it doesn’t require the execution of JavaScript or PHP in order to render.
All web pages on the static blogs are hardcoded and stored as static HTML sites. To avoid the time-consuming operation of writing out the website layout on each HTML page, we can instead use a static website generator (e.g. Hugo static generator – https://gohugo.io/)
Binary Installation On Linux
Download the appropriate version for your platform from Hugo Releases. Once downloaded, place the binary to the system PATH location. Use /usr/local/bin for global usage.
cd /usr/local/bin
wget https://github.com/gohugoio/hugo/releases/download/v0.92.2/hugo_0.92.2_Linux-64bit.tar.gz
tar -xzvf hugo_0.92.2_Linux-64bit.tar.gz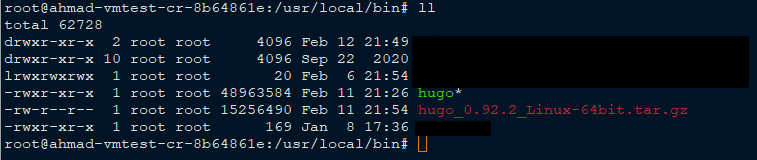

Getting Started with Hugo
Let’s get started on creating a static website using Hugo.
We will use the theme in the following link – Even – Hugo Themes.
- Create Hugo New Site
$ hugo new site <Name of your site>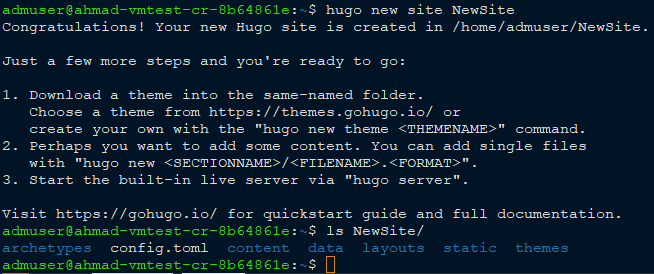
- Clone the themes and place them on themes/even inside the newly created site folder.


-
Copy the config.toml file inside exampleSite folder to your Hugo root site (e.g NewSite). The folder structure will be like this.

- Creating new example post
Navigate to the root of your Hugo website (e.g NewSite). Then type the following command.
hugo new post/some-content.mdThe result should be like this.

- Upload content to S3 ServerStadium (optional)
ServerStadium object storage can be used to save static content such as images, etc.
Please follow this link to get started with ServerStadium object storage – ServerStadium S3 Object Storage
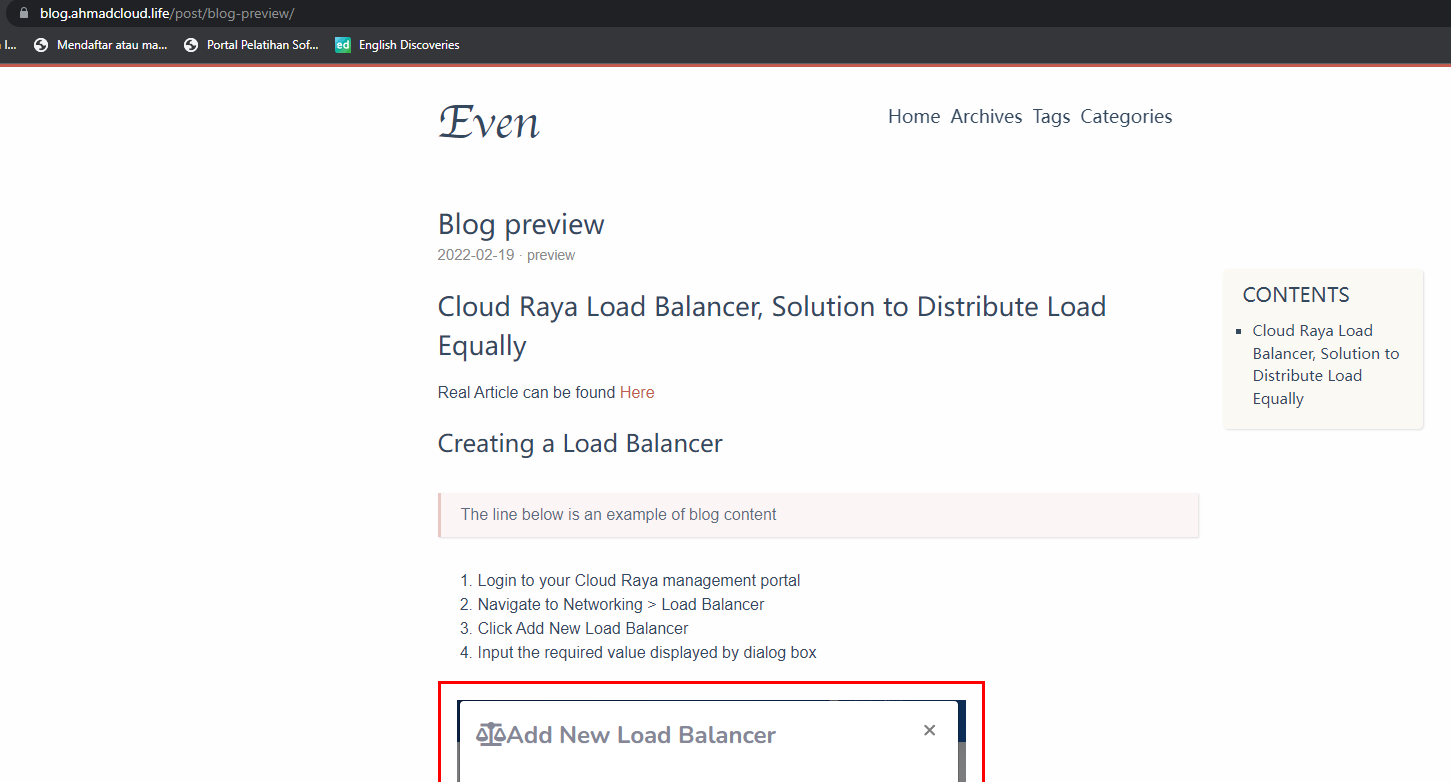
Full static page example in markdown format.
— title: “Blog preview” date: 2022-02-19T00:00:00+08:00 lastmod: 2022-02-19T00:00:00+08:00 draft: false tags: [“preview”, “Blog preview”, “blog-preview”] categories: [“preview”] license: “open source” author: “Sultan Ahmad” weight: 10 contentCopyright: ‘open source’ mathjax: true autoCollapseToc: true — # ServerStadium Load Balancer, Solution to Distribute Load Equally Real Article can be found [Here](https://serverstadium.com/knowledge-base/serverstadium-load-balancer-solution-to-distribute-load-equally/) ## Creating a Load Balancer > The line below is an example of blog content 1. Login to your ServerStadium management portal 2. Navigate to Networking > Load Balancer 3. Click Add New Load Balancer 4. Input the required value displayed by dialog box  …….. ## Assigning Backend Server 1. Click configure on the new created Load Balancer 2. Click Assign new VM, and choose the specific VMs as the backend servers for the loadbalancer 3. The final result should be like the below pictures 
The full Site can be reached at – https://blog.ahmadcloud.life/post/blog-preview/
Hugo Docker Implementation with Nginx Proxy Manager
Why need Nginx Proxy Manager (NPM)?
Because Hugo server runs on port 1313, we need a way to proxy HTTP port (80) to Hugo server port (1313).
In this way, the client can access the link without specifying port 1313 on the URL.
Accessing Hugo without proxy
e.g.
http://<server IP>:1313

http://<domain name server>:1313
Accessing Hugo with proxy
e.g.
http://<server IP>

http://<domain name server>

no need to define port 1313 in the end of URL
Please access the following link to get a detailed instructions on installing NPM – Reverse Proxy management using Nginx Proxy Manager
Defining Docker-Compose File
You can use the following docker–compose.yaml to define the functionality of NPM and Hugo server.
docker-compose.yaml
version: “3” services: app: image: ‘jc21/nginx-proxy-manager:latest’ restart: unless-stopped ports: # These ports are in format : – ’80:80′ # Public HTTP Port – ‘443:443′ # Public HTTPS Port – ’81:81′ # Admin Web Port # Add any other Stream port you want to expose # – ’21:21’ # FTP env_file: .env_apps environment: # Uncomment this if IPv6 is not enabled on your host DISABLE_IPV6: ‘true’ volumes: – ./data:/data – ./letsencrypt:/etc/letsencrypt depends_on: – db networks: – npm-network db: image: ‘jc21/mariadb-aria:latest’ restart: unless-stopped env_file: .env_db volumes: – ./data/mysql:/var/lib/mysql networks: – npm-network hugo: image: klakegg/hugo:0.92.1 container_name: hugo-static-web command: server –bind=0.0.0.0 volumes: – “/home/admuser/stat-website:/src” networks: – npm-network networks: npm-network: driver: bridge
Directory tree of the docker-compose

.env_apps
DB_MYSQL_HOST=db DB_MYSQL_PORT=3306 DB_MYSQL_USER=”mysql username” DB_MYSQL_PASSWORD=”mysql password” DB_MYSQL_NAME=”mysql dbname”
.env_db
MYSQL_ROOT_PASSWORD=”mysql root password” MYSQL_DATABASE=”mysql database name” MYSQL_USER=<mysql username”” MYSQL_PASSWORD=

Conclusion
To get more tips and tutorial articles, you can check on ServerStadium’s Knowledge Base Or, even better, you can sign up now for free in ServerStadium to try our dashboard and feature.