

Create your own VPN server with DNS-Level AdBlocker using PiVPN & PiHole in ServerStadium
When you have a private cloud or public cloud infrastructure, you won’t need public IP on every server or service you have. It is unnecessary and costly to have many public IPs assigned to your infrastructure. However, you will also need a way to access and manage your cloud servers securely. This is where VPN comes in
VPN or Virtual Private Network is a way to connect to your infrastructure securely. With many ways to set it up, from a complicated custom one that attaches to your physical firewall, to a simple VPN application deployed on your Virtual machine.
In ServerStadium, you can actually deploy VPN easily. You need to go to the Dashboard and follow this tutorial to set up your own VPN connection to ServerStadium Cloud
Establishing a VPN in ServerStadium
So What’s the Deal?
However, ServerStadium VPN has virtually supported Windows and Linux clients due to its nature.
This is due to its setup, a client that wants to connect to ServerStadium VPN needs to be set with MS-CHAPv2, which newer MacOS clients do not support.
If you having trouble connecting to ServerStadium VPN or in need of a more advanced function of VPN setup, this tutorial is good for you.
In this tutorial, you will set up a VPN virtual machine, which includes a DNS-Level Adblocker. So, clients that connect to this VPN will also get an ad-free browsing benefit.
Preparing the Virtual Machine
To deploy in ServerStadium, you will need a x-small Ubuntu 20.04 package and deploy the virtual machine.
For further details on creating a new VM, you can refer to this article: Deploying a Virtual Machine in ServerStadium – KB
You will also need to open the following port and protocol on ServerStadium Security Profile:
- Port 51820/tcp
- Port 51820/udp
- Port 51821/tcp
- Port 80/tcp
You can refer to this article on how to add rules to ServerStadium Security Profile: Create VM, Custom Package, Reinstall VM, and Adjusting Security Profile – ServerStadium KB
PiHole DNS Server Installation
PiHole is a DNS server that includes an Adblocker as its feature. Thus, when you connect to this DNS server, PiHole will process your query and will decide whether the domain name is blocked or allowed to access.
We will not make this VM DNS Server public since it will create whole another great mess, so we will only allow the DNS server to be served to any client connected to the VPN.
To install PiHole, run this command under root user:
curl -sSL https://install.pi-hole.net | bashUpon installation, you will get this message

Click Yes, since the VM is already having proper Public and Private static IP.
On the next page, you must select the upstream public DNS server that this VM will connect to. You can select Google (ECS, DNSSEC) or Cloudflare (DNSSEC) for the most stable upstream.
Then, click on yes if you are asked to “install web admin interface”. So you can easily manage the PiHole. Also, click on ON to “install lighttpd”
After that, click on yes until installation starts.
At the end of the installation, you will get useful installation information such as below:

Change the password to make the web interface more secure.
That’s it for the PiHole installation; we are now halfway to setup our VPN Server. Continue with the PiVPN installation
PiVPN Installation
PiVPN is a simple setup VPN application that uses WireGuard or OpenVPN as its backend. WireGuard or OpenVPN is a robust and reliable VPN protocol that is used worldwide.
To deploy PiVPN, run this command as root user
curl -L https://install.pivpn.io | bashThis command will automatically start the PiVPN installation.
On installation progress, you will be asked a few questions
First, you will be asked a non-root user that will hold a VPN configuration. If you have no users, the installer will create them for you

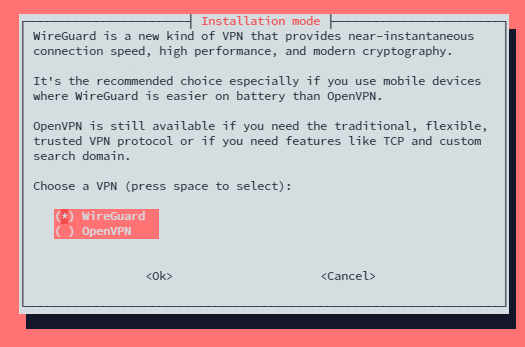
After you create a new non-root user, you will be asked whether you will use WireGuard or OpenVPN.
You should use WireGuard since it has a simpler client experience on Windows, Ubuntu and macOS, even on Android.
When asked what port you should use, use the default port (51820). This is the port that we opened on ServerStadium Security Profile earlier.
After that, you will be asked by the installer to use PiHole as its DNS; click on Yes

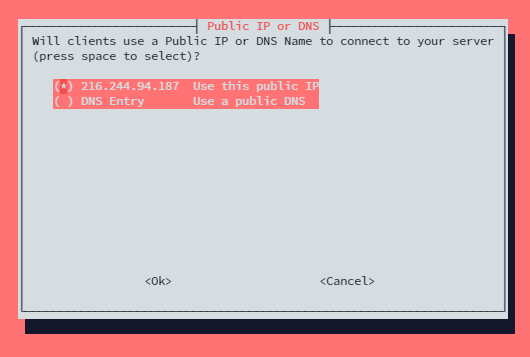
Since this server only has a Public IP, select the IP when asked the below question. Also, it is recommended to select IP for a more stable experience.
When the below information is shown, that means the installation has succeeded.
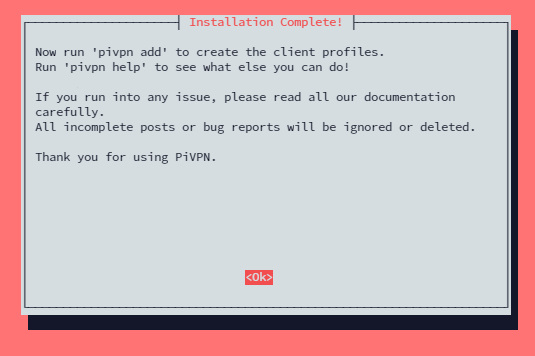
You can now use the VPN server and add users using the Terminal.
However, why stop there? We also can set up PiVPN dashboard, so we can easily add or remove VPN users.
Install PiVPN Dashboard
To install PiVPN-Web Dashboard, we will need to install docker on our VPN server.
This container is not taking high resources and is easily deployable and manageable.
To set up Docker, run the below command:
# Install Docker
curl -fsSL https://get.docker.com -o get-docker.sh
sudo sh get-docker.sh

# Add user 'pi' to group 'docker'
sudo usermod -aG docker pivpn
After docker is installed successfully, run this command to install PiVPN-Web
docker run -d -p 51821:51821 --name pivpn-web --restart=unless-stopped weejewel/pivpn-webThat’s it; now your VPN Server is up and running. Now we will continue to set up a new user and client on Ubuntu, Windows, and macOS
Modify User on PiVPN-Web Dashboard
First, navigate to this address on your web browser:
http://<your public ip>:51821/Then, log in to your root user account.
After authenticated, you will be greeted with this screen
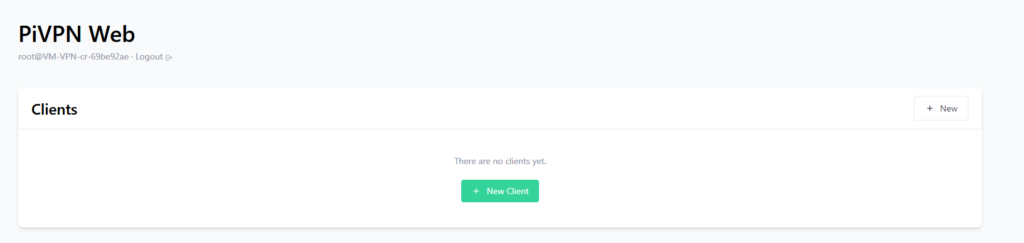
Click on New Client and type a new name for this VPN client.
After you create a new client, you will have your new user with an option on the right side

The option from the rightmost side is:
- Delete Profile (Trash bin icon): Delete this profile
- Download configuration: Download configuration to add them to the VPN client
- Show QR Code: If you connect to a mobile device, you can easily add the configuration by taking the QR Code of the configuration.
- Profile Enable Toggle : Enable or Disable account without deleting the profile.
Now, we will set the VPN client so they able to connect to the VPN server
Configure VPN Client on Windows
To be able to connect with the VPN server, you need to download WireGuard application.
In Windows, there is an application called WireGuard for Windows you can download the application on the link below:
Download Windows Installer (wireguard.com)
Open the Installer and complete the installation. After that, open the application.
First, download the configuration on PiVPN Web. Then click on Add Tunnel. Navigate to your file and download.
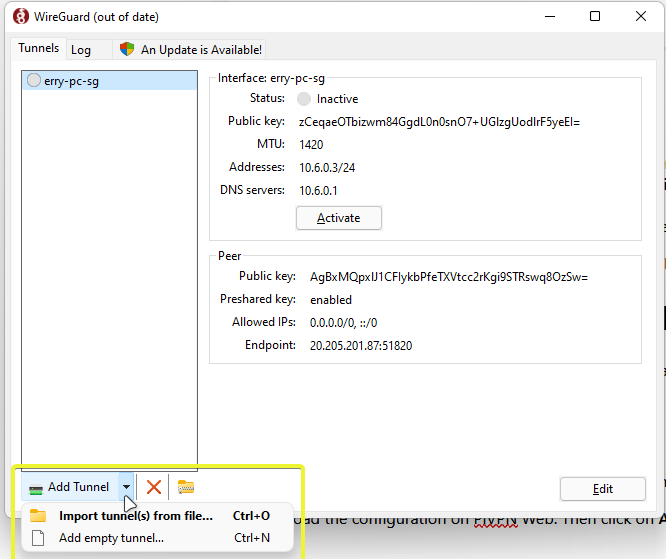
Then click on Activate.
Configure VPN Client on Ubuntu
Since there is no GUI Client on Ubuntu, we need to add features into Ubuntu Network Manager. This method is confirmed to work on Ubuntu 20.04
First, you need to run this command to install the to build the features
sudo apt install wireguard git dh-autoreconf libglib2.0-dev intltool build-essential libgtk-3-dev libnma-dev libsecret-1-dev network-manager-dev resolvconfAfter the installation for the above package is completed, run the below command to compile and add a feature in Ubuntu Network Manager
git clone https://github.com/max-moser/network-manager-wireguard
cd network-manager-wireguard
./autogen.sh --without-libnm-glib

./configure --without-libnm-glib --prefix=/usr --sysconfdir=/etc --libdir=/usr/lib/x86_64-linux-gnu --libexecdir=/usr/lib/NetworkManager --localstatedir=/var

make
sudo make install
If the installation is successful, when you open Ubuntu Network Manager, and click on add VPN you will see WireGuard and Import from file this means that you are ready to add Wireguard profile
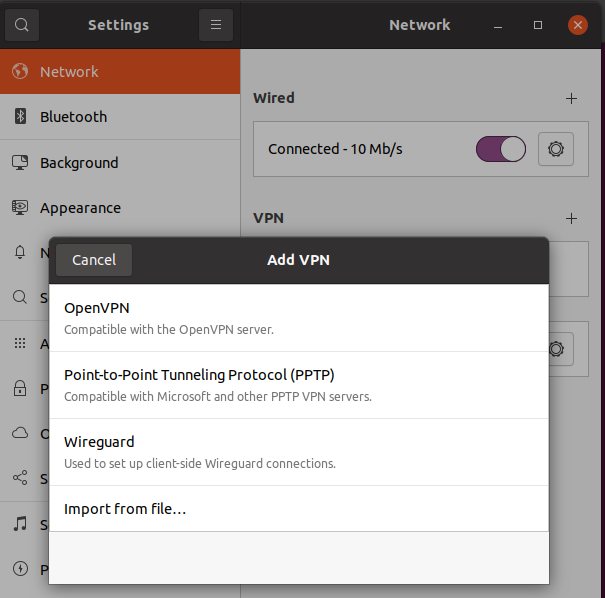
Select Import from file then adds your profile.
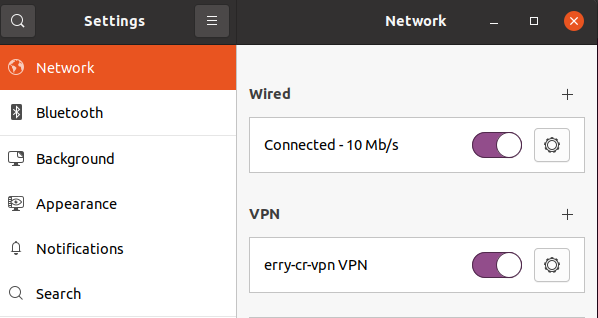
After that, you are able to connect to your VPN server correctly.
Configure VPN Client on MacOS
There is also a WireGuard Client on Mac AppStore. You can download it here.
WireGuard on the Mac App Store (apple.com)
After you successfully install it from Mac App Store, open the application. Then click on the + icon on the bottom-left of the window and click on Import Tunnel(s) from File. Then select the configuration file
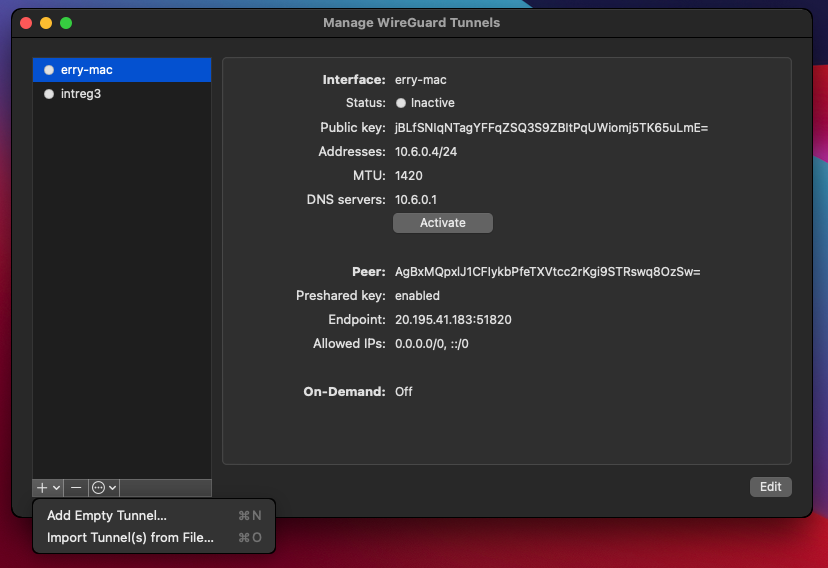
After it has been successfully added, click on Activate.
You are now able to connect to your VPN Server
Configure VPN Client on Android
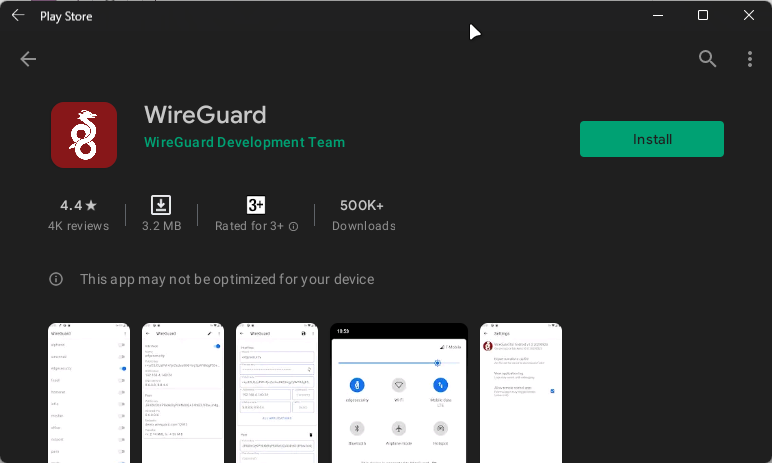
There is an available GUI client on Android. Open Play Store and download Wireguard
After that, open the Wireguard application and click on the Blue (+) button
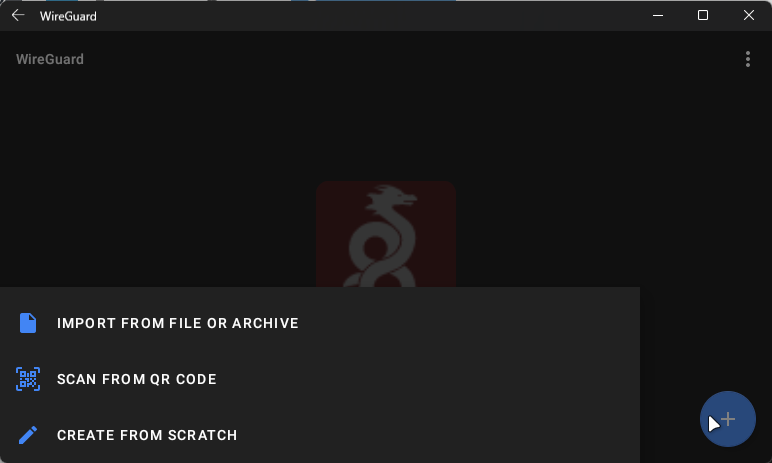
You can pick a way to add the profile. Import from file or archive is the same way as the other OSes, you can use the configuration file. Or you can scan from QR code.
To get the QR code for your profile, navigate to PiVPN-Web Dashboard and click on the Show QR Code on the right side of the profile

After that, a QR Code will appear, scan it using your Android phone.
Just like that, the profile will appear on your application. Now you can connect to your VPN server using android
Closing
Wireguard is a lightweight and robust VPN server application that also have a multiplatform client. It can be deployed easily using PiVPN script and managed using PiVPN-Web. It also can be equipped with PiHole, a DNS Level Adblocker. Using those tools, you can create a VPN server fast, easy and secure.
Reference:
Pi-hole – Network-wide protection
GitHub – WeeJeWel/pivpn-web: 🚀 Web UI for PiVPN
PIVPN: Simplest way to setup a VPN