

Skip to main content
How can we help?
Adding, Attaching, and Resize Root Storage Disk in ServerStadium VM
Another cool feature in ServerStadium is managing your cloud instance storage, allowing you to add, attach, and resize your cloud instance’s storage disk capacity. Let’s see how to manage your cloud instance storage disk without further ado.
Adding and Attaching Storage Disk to ServerStadium VM
- From the ServerStadium Cloud Panel, navigate to Resources > VM List
- Choose Storage tab from the current page
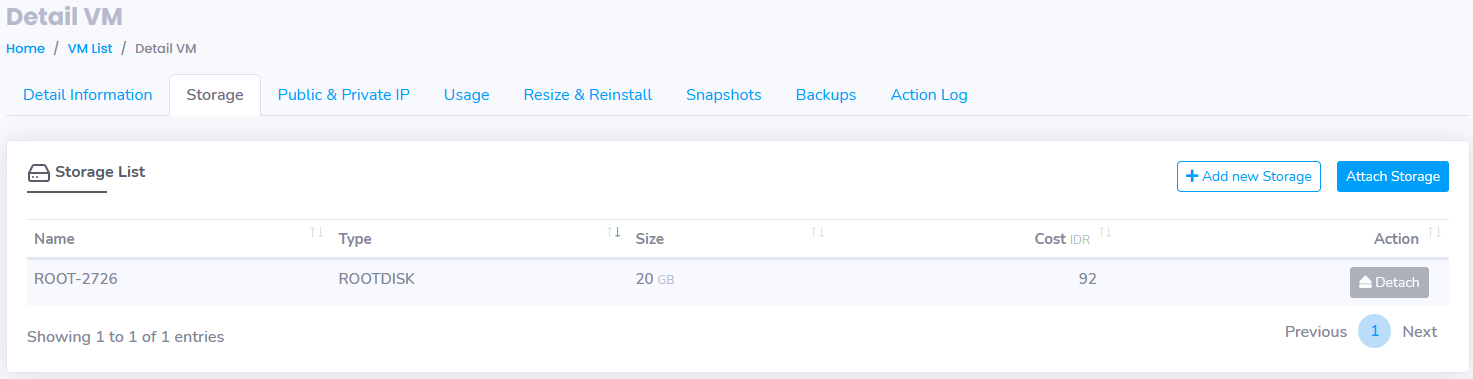
- Click the Add new storage button to add new storage to your ServerStadium Cloud Panel.
- Type the Storage label, then select the Storage Type and the available Storage Size.
- Wait until the newly added storage is done provisioning
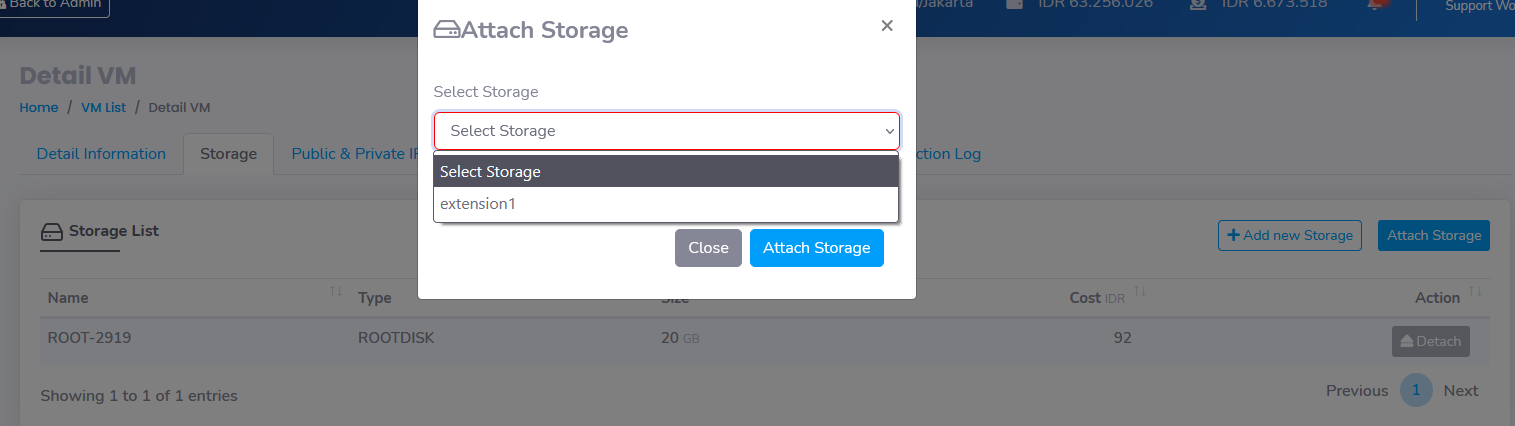
- Click the Attach Storage, to attach the available storage to your virtual machine
- Select the available Storage you want to attach
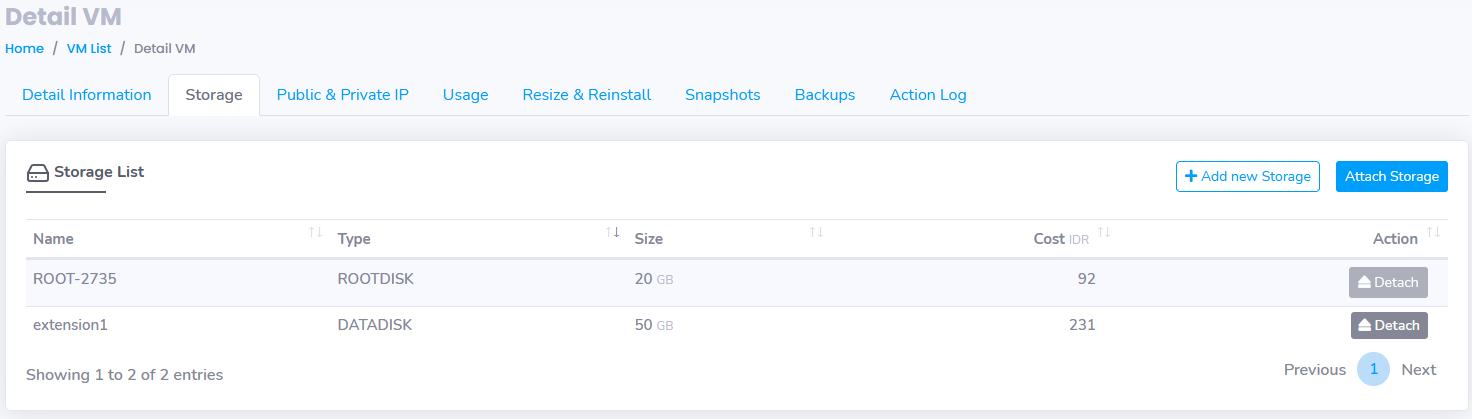
- The final result should look like the picture below

- To attach available storage to the VM, please click the Attach Storage button on Storage Tab in the VM panel
- Choose the available storage, then click Attach Storage button
Resizing VM Root Storage Disk in ServerStadium Cloud Panel
- Navigate to Resources > VM List
- Please select the virtual machine you want to resize
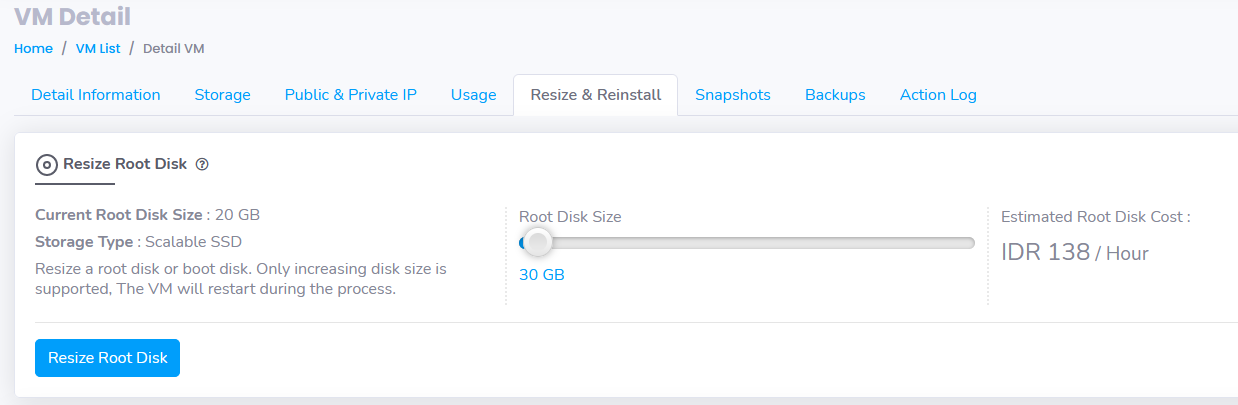
- Choose Resize & Reinstall tab from VM Detail panel
- Adjust the root disk size to your desire
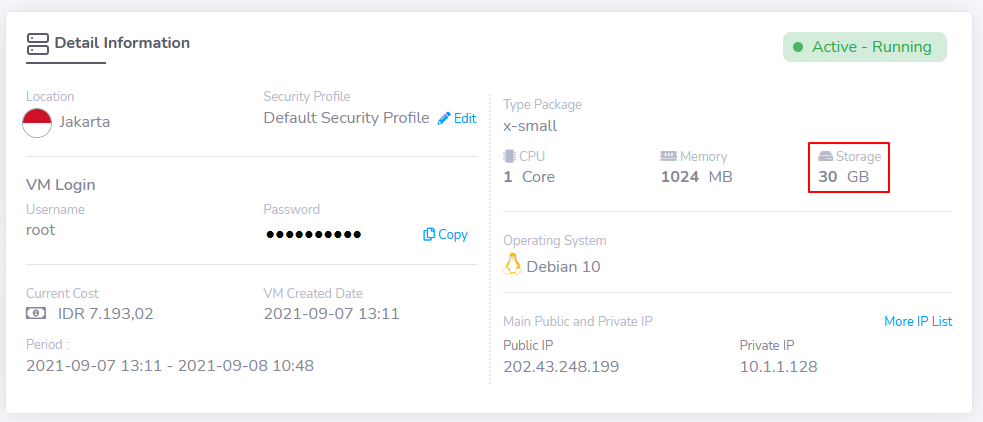
- In this example, we try to resize the root disk from 20 GB to 30 GB
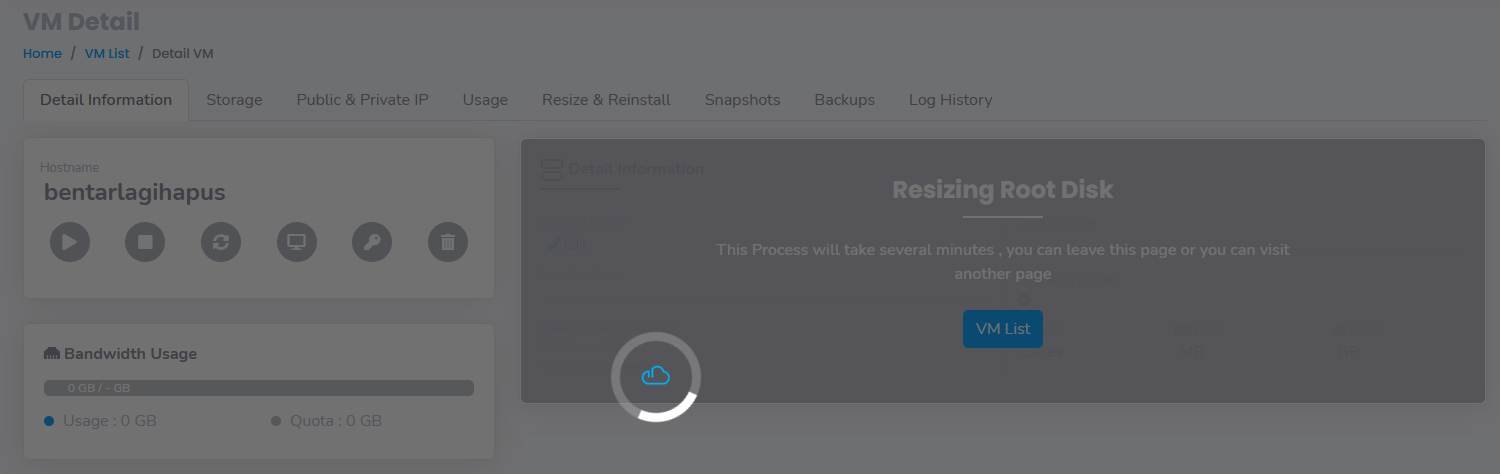
- Click Resize Root Disk, then wait until the root disk is done resizing. Please note that the restart may be required
Conclusion
Congratulation! You have learned how to add, attach and resize storage on your ServerStadium VM. We hope you can determine a suitable disk size for your VM in the future. Check other knowledge base articles to find what you can do more in ServerStadium.